I want an old style circus light in the sitting room above the door. It would be good for it to be removable so that it can be taken to festivals etc.
Here’s my Pintrest board…..
https://www.pinterest.co.uk/Iceni_Design/circus-sign/
Here’s a video idea with cardboard….
Here’s a more wooden design…
I like the raised letters with the lights but I’d want it in a single board to lift on/off.
I’m currently wondering if I can replace the cardboard with for-sale signs to make it more durable. mount it on thick ply.
I like this font, I’m thinking that the main letters will stand out and be lit, while the flourishes will be painted in gold paint.
https://www.1001fonts.com/showboat-font.html

I’m thinking that the height, including the backing board, can’t exceed more than 310mm.
For the backing board I like the multiple rough plank look, in a matt black with a decorative frame. This can be done with ply or a solid wood.
My next step will be sourcing the lights and trialing the 3D letters. I think I’d prefer to 3D print them if possible…. another argument for me getting a 3D printer!! I can’t bend wood that tight, I don’t have the metal work skills and cardboard will be to flimsy.
I’ve ordered these lights for £6, I chose USB powered as then I can plug them into a main adaptor, battery pack or easily sort out a google home switch.

https://www.aliexpress.com/item/4001191985614.html
I’ve found a better more simple font to use as well…
https://www.dafont.com/circus.font

There are 40 bulbs are the string and I’m going to string them around the outside of the sign rather than within the letters. I’m figuring that I leave a border around the letters deep enough for a frame and the lights. I drill holes for the lights in the backboard with slits from the outer edge to fit the wires. The ligths would be held in place with hot glue and the slits covered in moulding to frame the outside.
I want to stand the backplate off the wall by a few mm to allow for the wiring and the USB connection .

Line the printed out bits of A4 against a meter rule and tape them together…. I can print out as many of these as I need to get the different templates for the different colours.

I actually cut around and traced each layer of the image (the black and white bits) as I’m rubbish at freehand. The image below shows a spare print out that I had that was slightly too small.

Trying to keep this cheap so the red paint is just some red poster paint that I had lying around.

The gold was some left over paint I used to paint a picture frame around a blackboard and the blackboard paint was used to do the background.

I drilled LOTS of holes (40) and slits to pull the wires through. The lights are globe bulbs so I couldn’t drill a small hole and poke them through from the back.


Build a frame around the the board so you can add a backplate to cover all of the wiring. I fixed this on with PVA and a few screws to hold it in place, predrill the holes so that the ply wood doesn’t split as you will be screwing into the edge of the laminate layers of the ply.

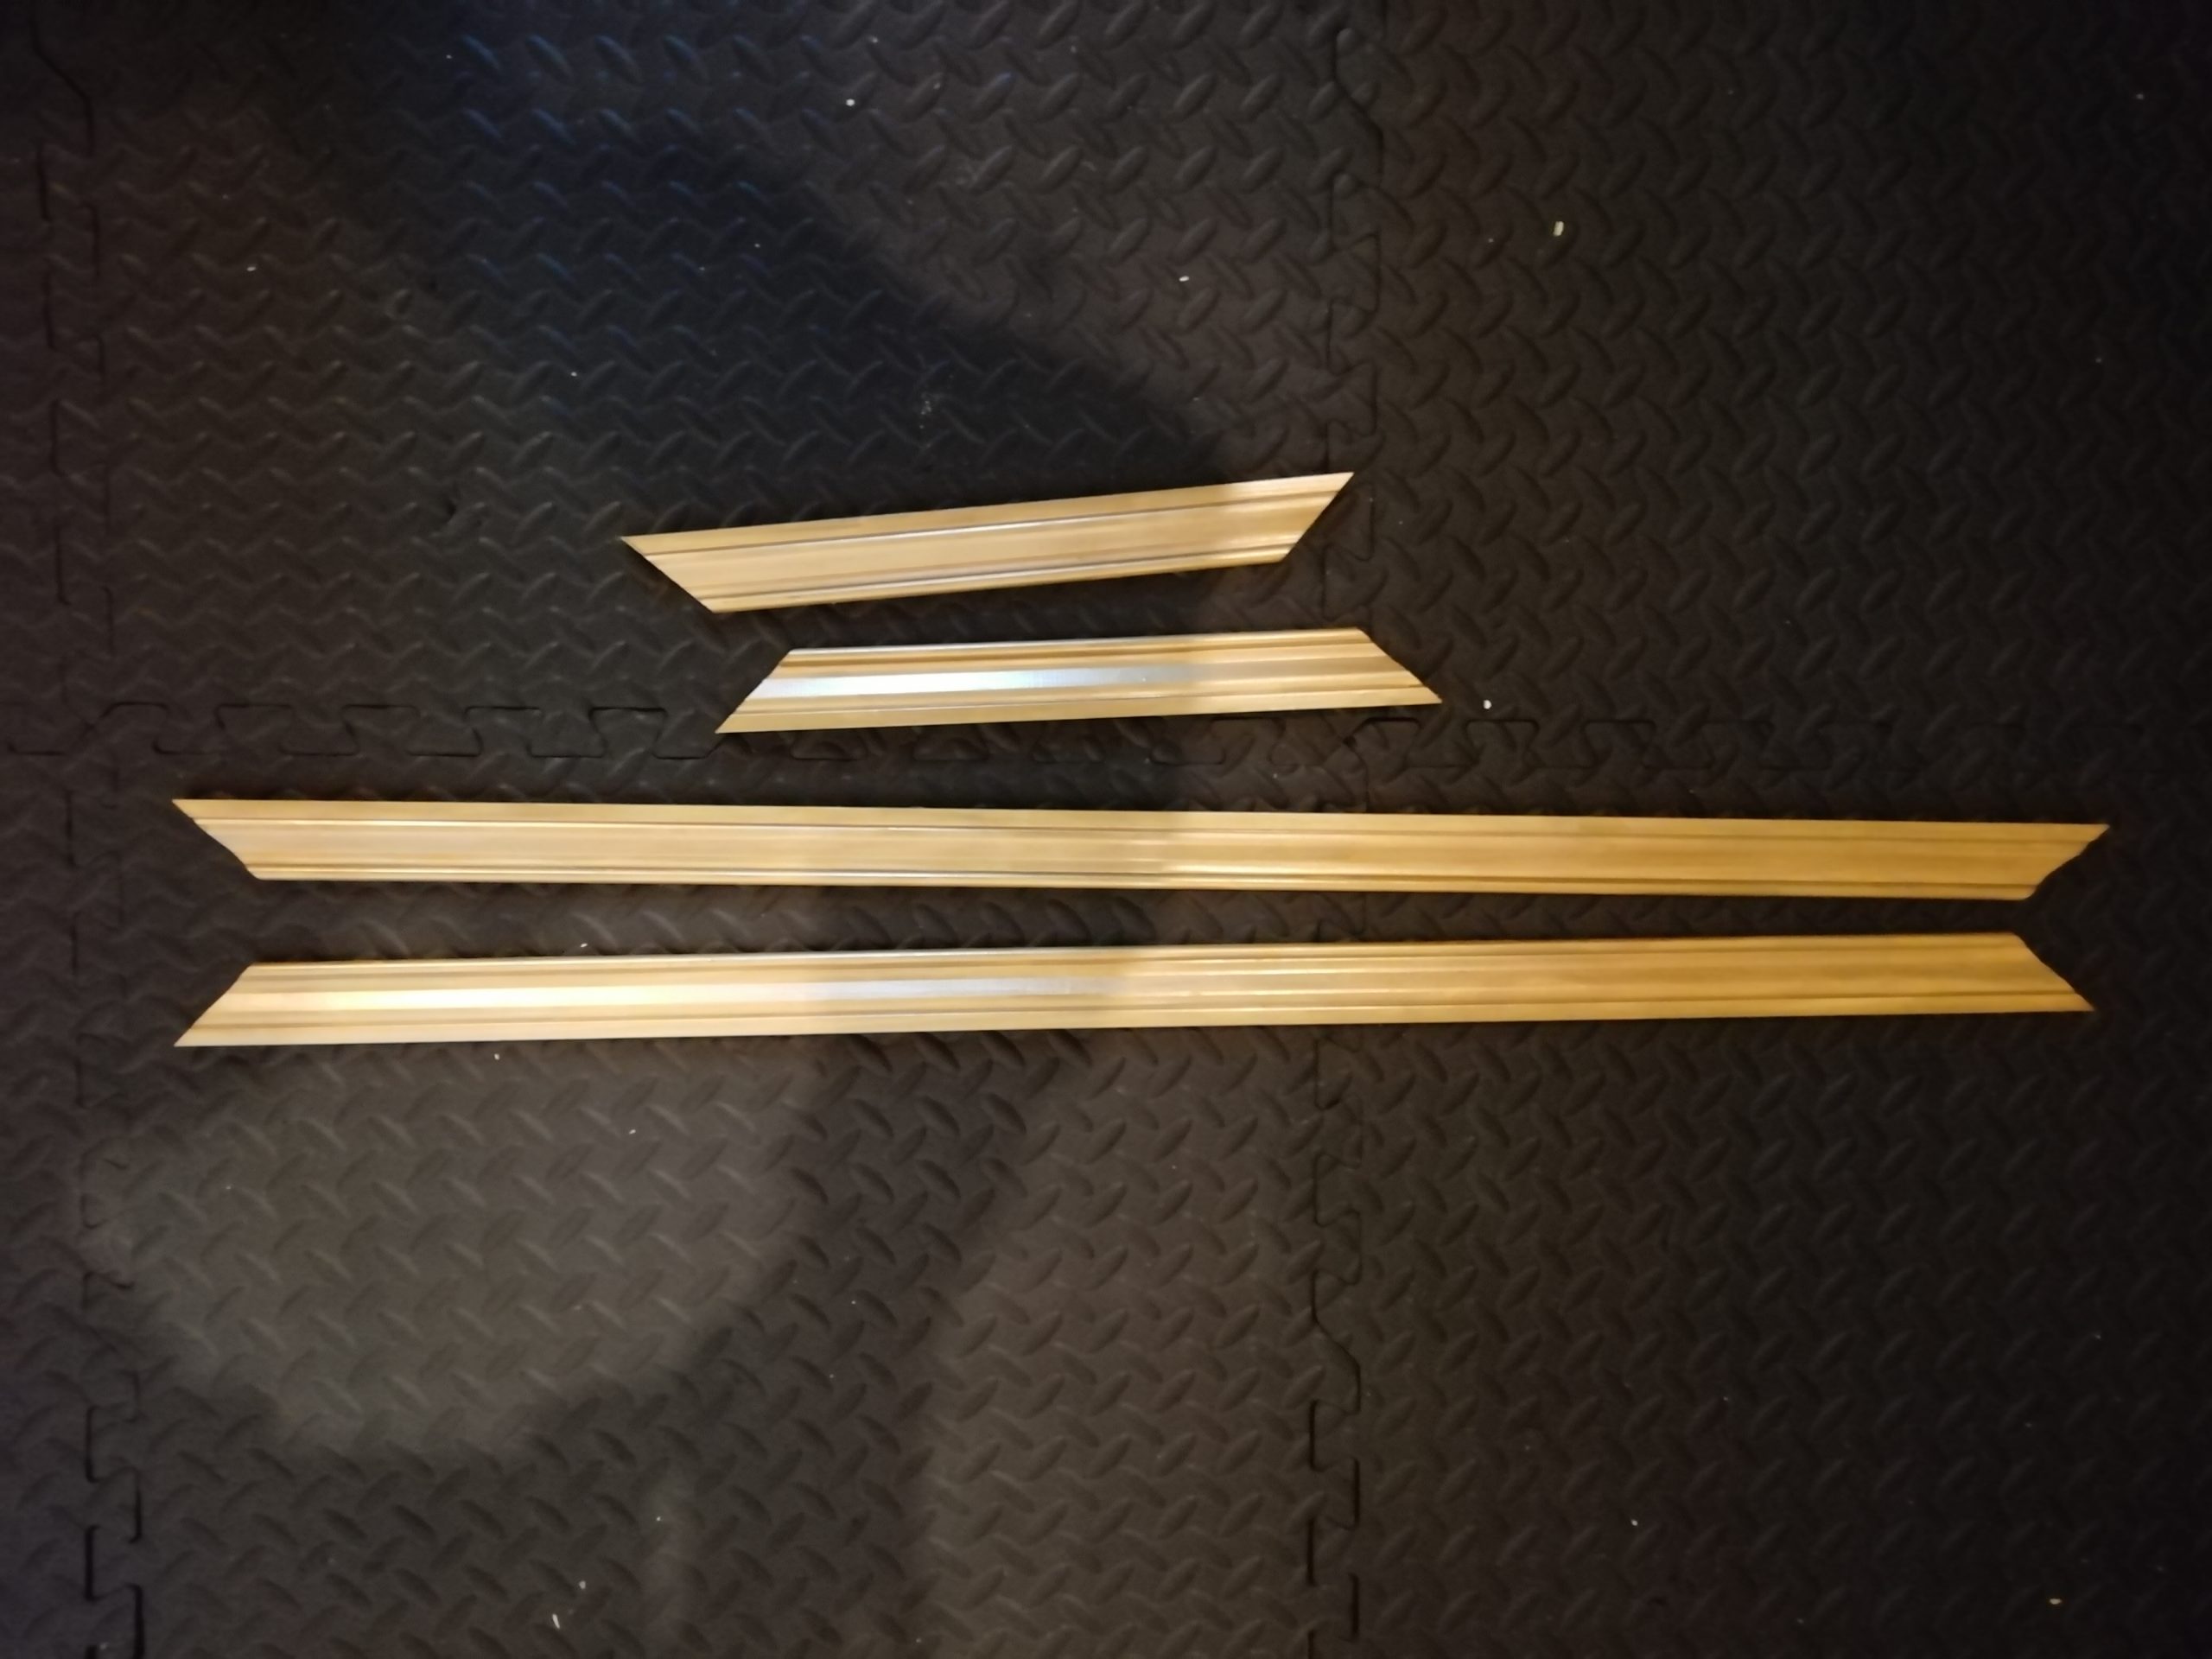
Cut some framing (moulding) with a mitre saw and paint it gold….
Attach the frame with wood glue / PVA and clamp it overnight.

Cut and fit the backboard. I used ply only a few mm thick to reduce the overall thickness and it isn’t structural. I had the trailing USB cable come out of the side rather than the bottom so it can be stood up on a surface.

Paint the backboard and the framing black!


