I found a fireplace in a skip…. I’ve been meaning to clear some space in my front room and open up the old fireplace. I guess that means its time to do it!
First step was to use a carbide scraper and a detail sander to strip back the peeling varnish.
Then I painted the fire surround with some chalk paint I’d picked up at Aldi. I left the inlayed design as I quite liked it!
Next step was the fun bit….. Cut out and smash up the old covering!
Annoyingly I had to relocate a plug socket but it does mean that I could fit a double socket with USB ports in a handy location. This means that I can put some twinkly lights in the fireplace when I’m done and still have sockets for charging phones and laptops etc.
Added some framing so I can bring the wood that I’m going to use as a ‘hearthstone’ above the level of the carpet.
Cut and fitted some ply to cap off the chimney. This is screwed into some battens that I fixed inside the chimney.
The ‘hearthstone’ is cut from some scaffolding board and some very old house timbers that I’ve had lying around in my workshop.
The fireplace is done and I’m pretty pleased with it. It’ll look even better when I get a new TV that I can mount to the wall and run HDMI and power cables out of the way.
Last time I borrowed a belt sander but I’ve got so much I want to do this time that I bought a second hand one on ebay for £35… Erbauer Belt Sander Ebs950. So far I’m really impressed and it was well worth it.
The first set of shelve are going over my desk so will have slightly different brackets to the rest which are going in alcoves. Here are the brackets – £11.62 for 4 inc delivery….
Rustic Scaffold Board Shelf Pair of Brackets Industrial Heavy Duty Steel Bracket
I randomly found a painting in the street. It’s not my style but its so awesome I brought it home anyway. I figure that I could use the frame if nothing else.
So I put it up in my front room, clashing with the rest of the room and a couple of years later my friends pointed out how much I need to change it!
So I have no idea what to do with the painting and its the wrong size for that wall and the frame is the wrong colour. I also have a great idea for some wall art but I’d need to repaint the room first….. so painting abuse it is!
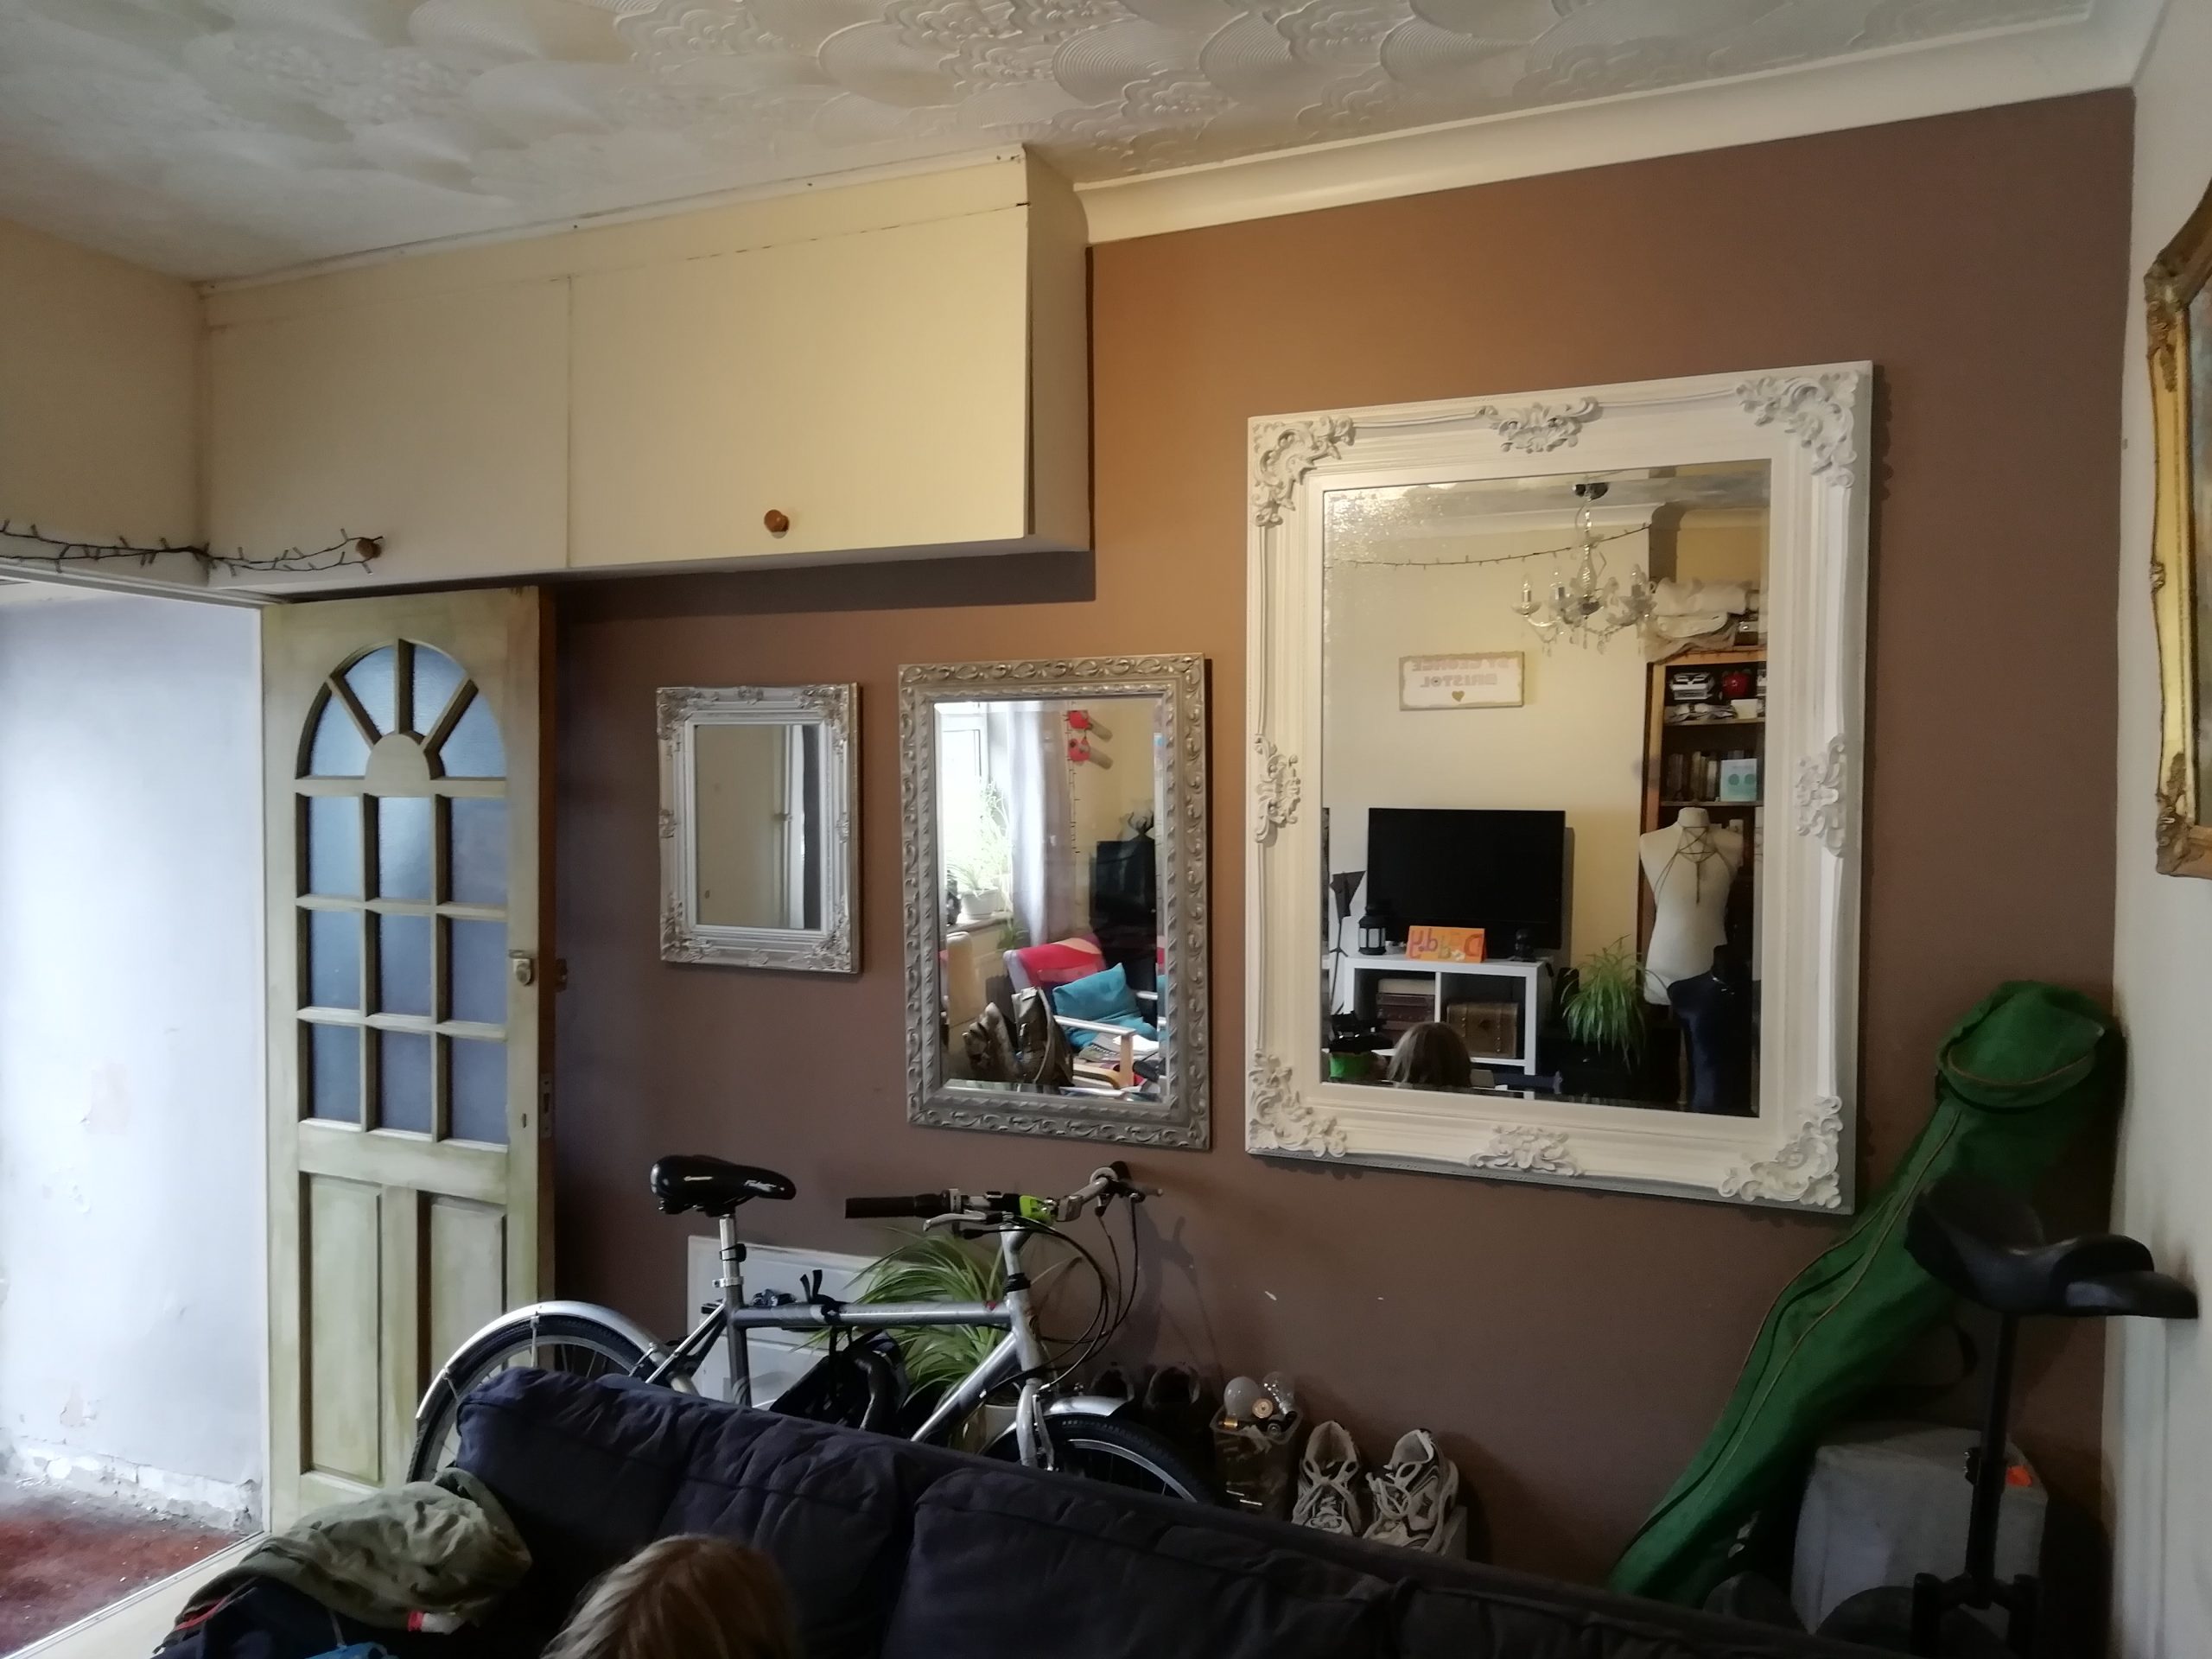
I added a wall of mirrors to go opposite the aerial points and to try and get more light into the front room. Gumtree, Facebook Marketplace and Freecycle to get these three mirrors for the princely total of £60. I was pretty pleased with that.
The idea is to end up with three silver, weathered mirrors of a more uniform colour.
I had some black poster paint to hand and tried watering that down as an ink wash. Its certainly not a weather proof solution but turned out pretty well
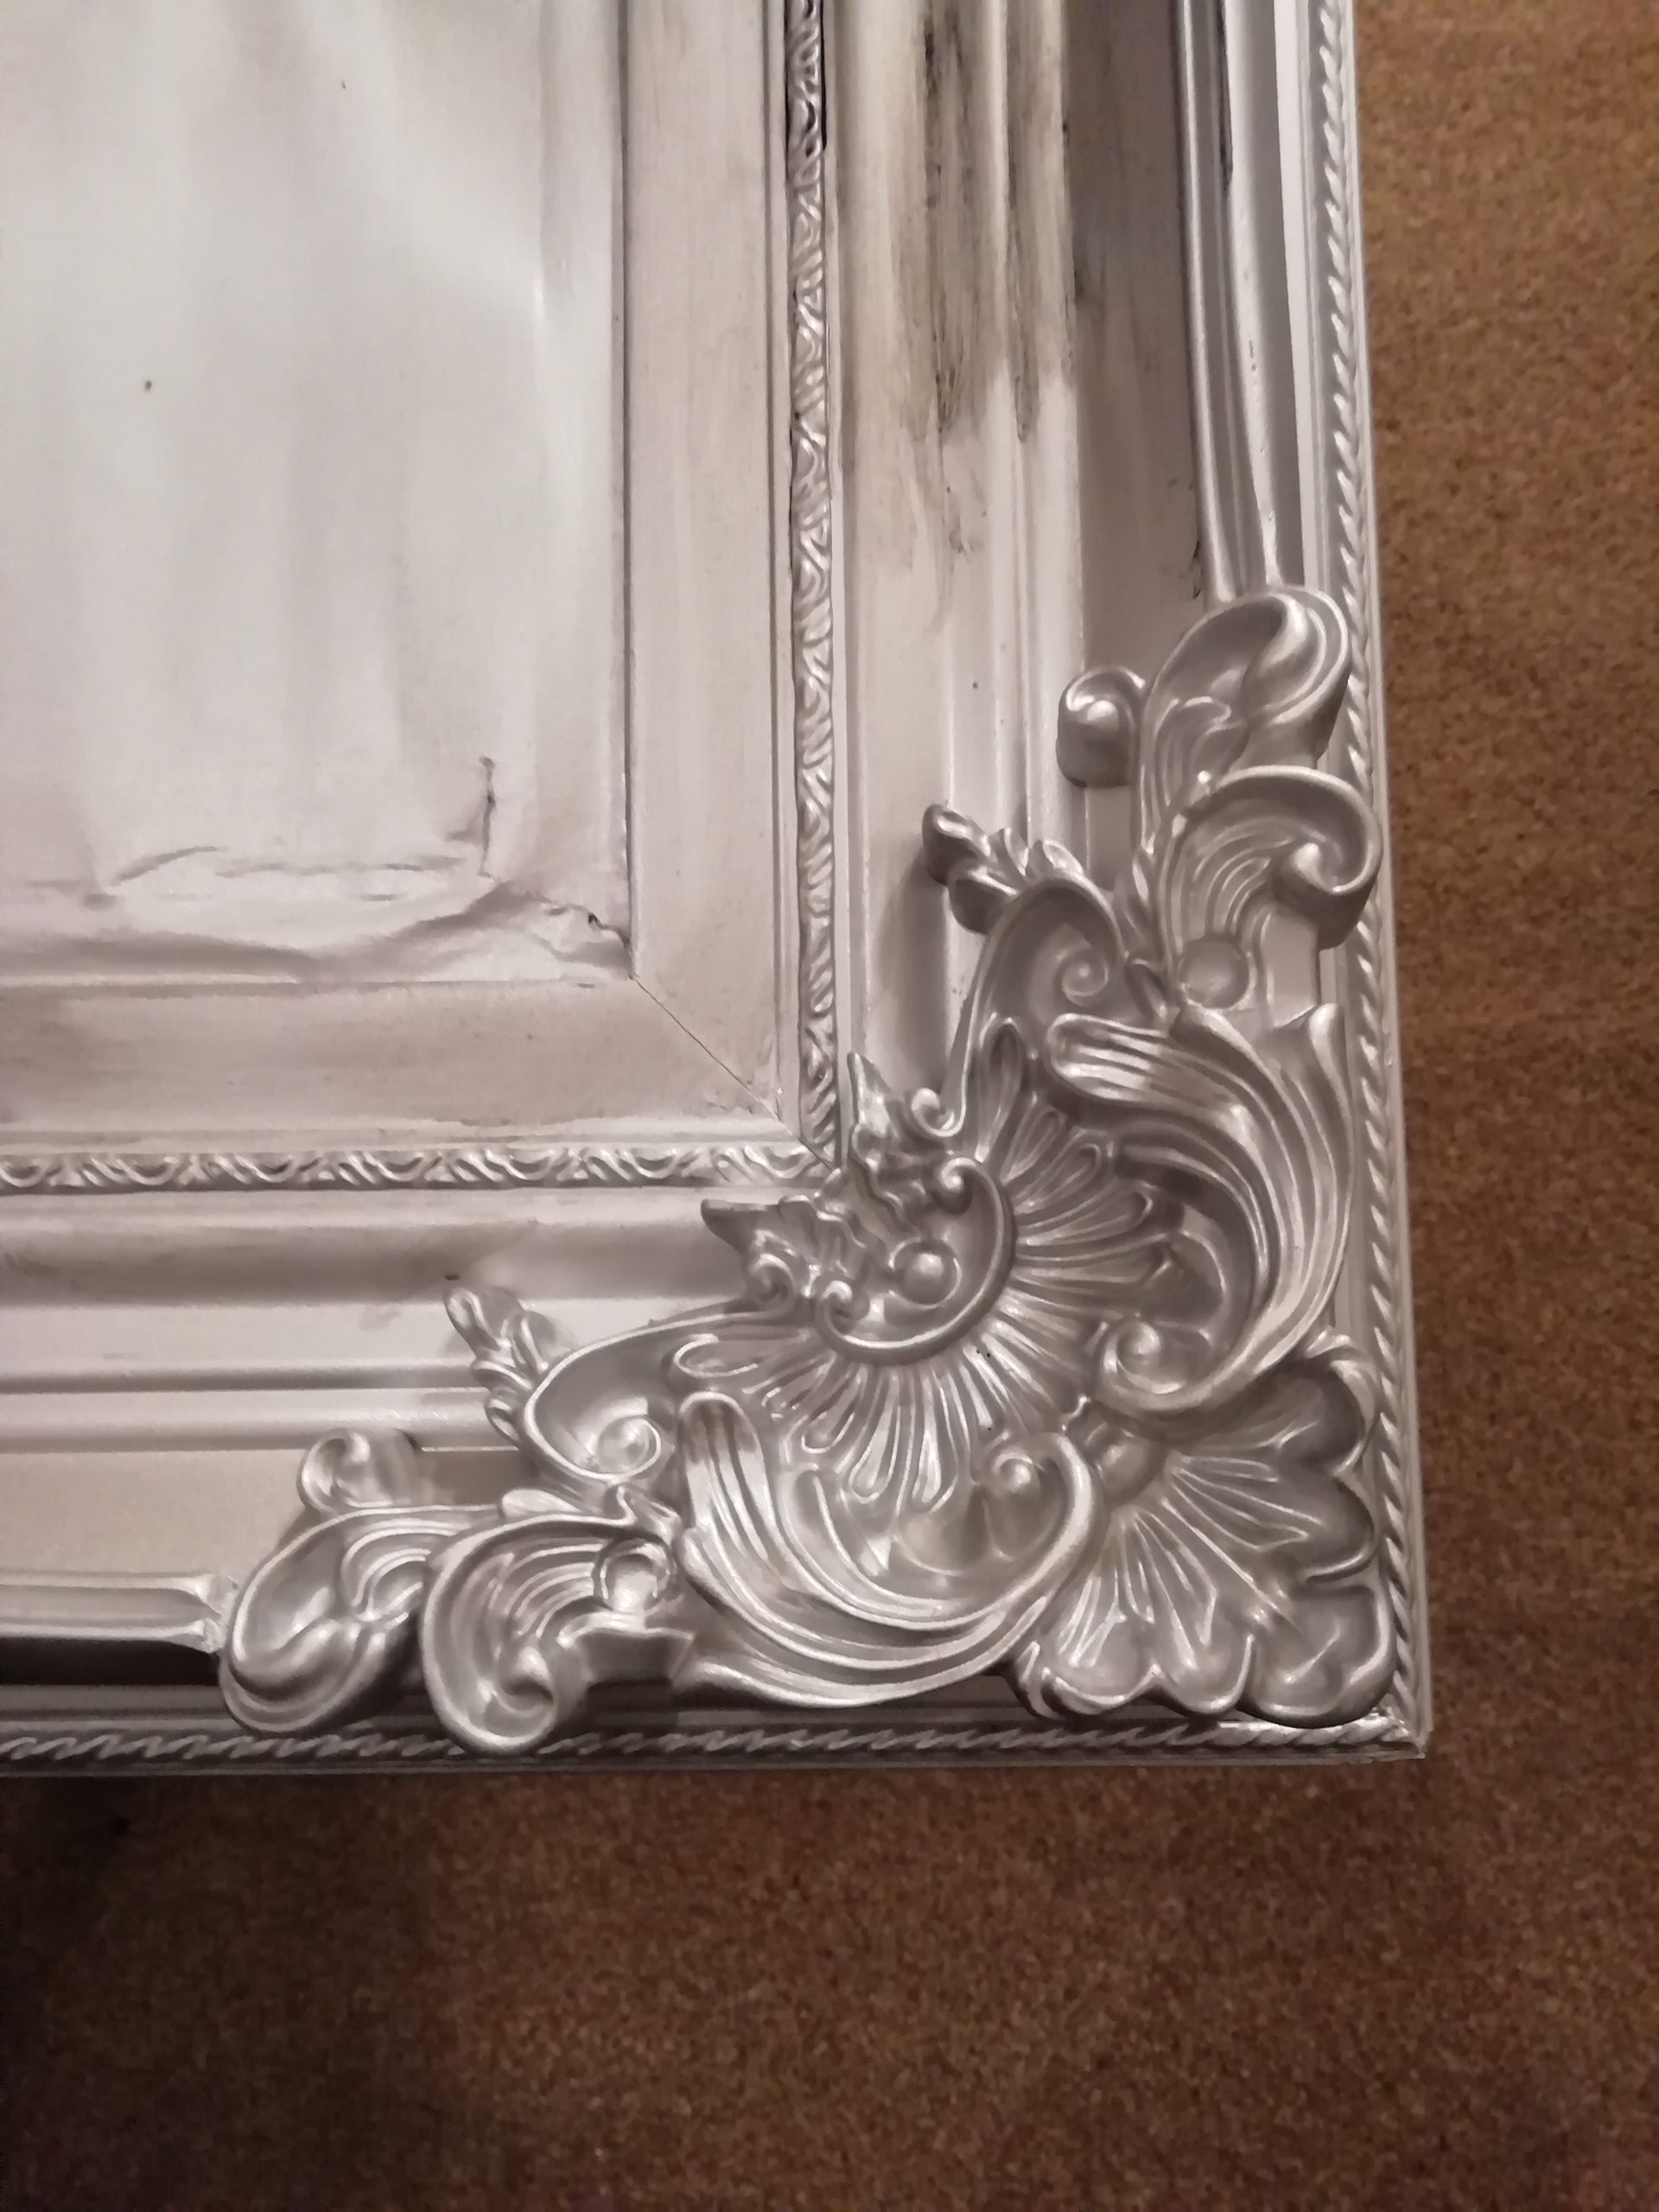
The second frame was already a silver base so just needed the same treatment.
The third largest frame had a white frame that I first needed to spray silver, a couple of light coats seemed to do the trick. First step was to mask off the mirror…
After a couple of coat of silver in spray paint.
Liberally apply the black over everywhere and then take it back with a cloth or paper towels…
Three mirrors now matching and hung. I ended up doing the same to a picture frame on the opposite wall.