


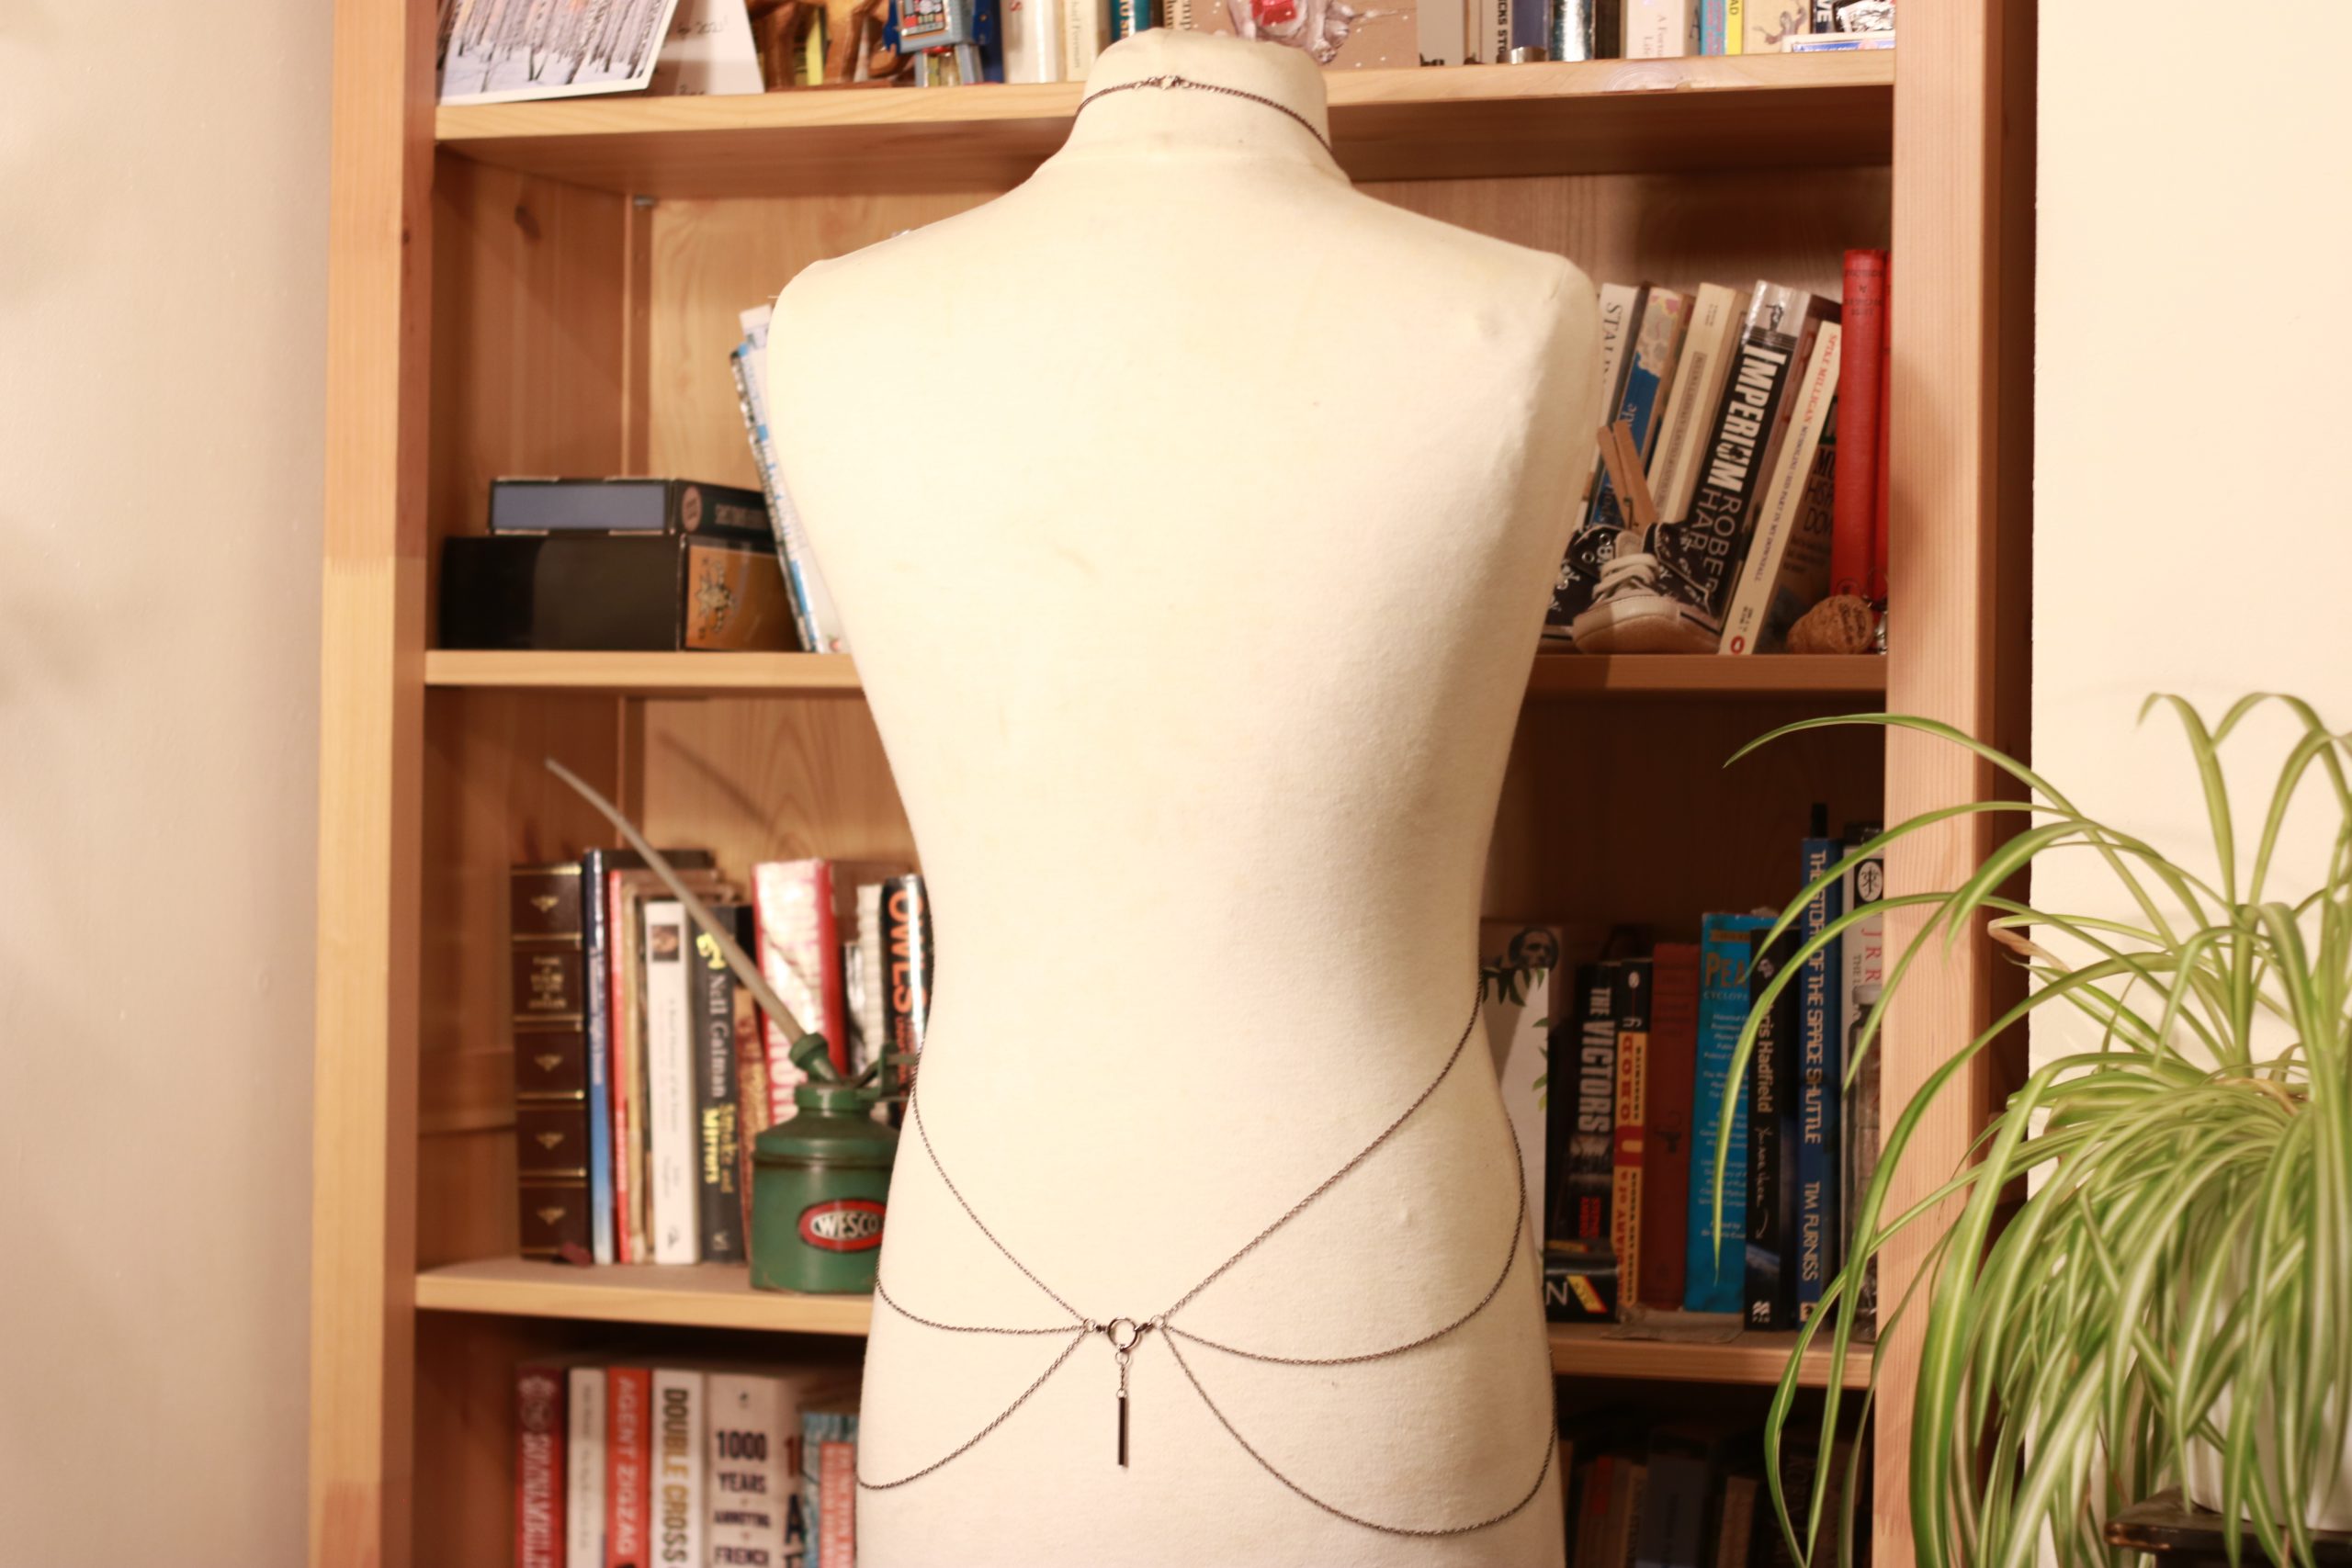
Chunky double chain body harness. Features:
- Triple chain collar
- O-ring loop on collar
- Pendant hanging in the O-ring
This content is restricted to subscribers
Builder of props, waster of time

Chunky double chain body harness. Features:
This content is restricted to subscribers

Another slightly ridiculous project, I had some badly wired under counter lighting. The cables were hanging down and they were just irritating. So time for an upgrade.
I found this kit on AliExpress for a few quid.

As I wanted this in three separate sections rather than one continuous section I needed to cut and rewire it.

As always I decided to overcomplicate things and make it modular, so rather than simply soldering on wires, I soldered on connectors to either end and made some cutome extension cables to the correct length.
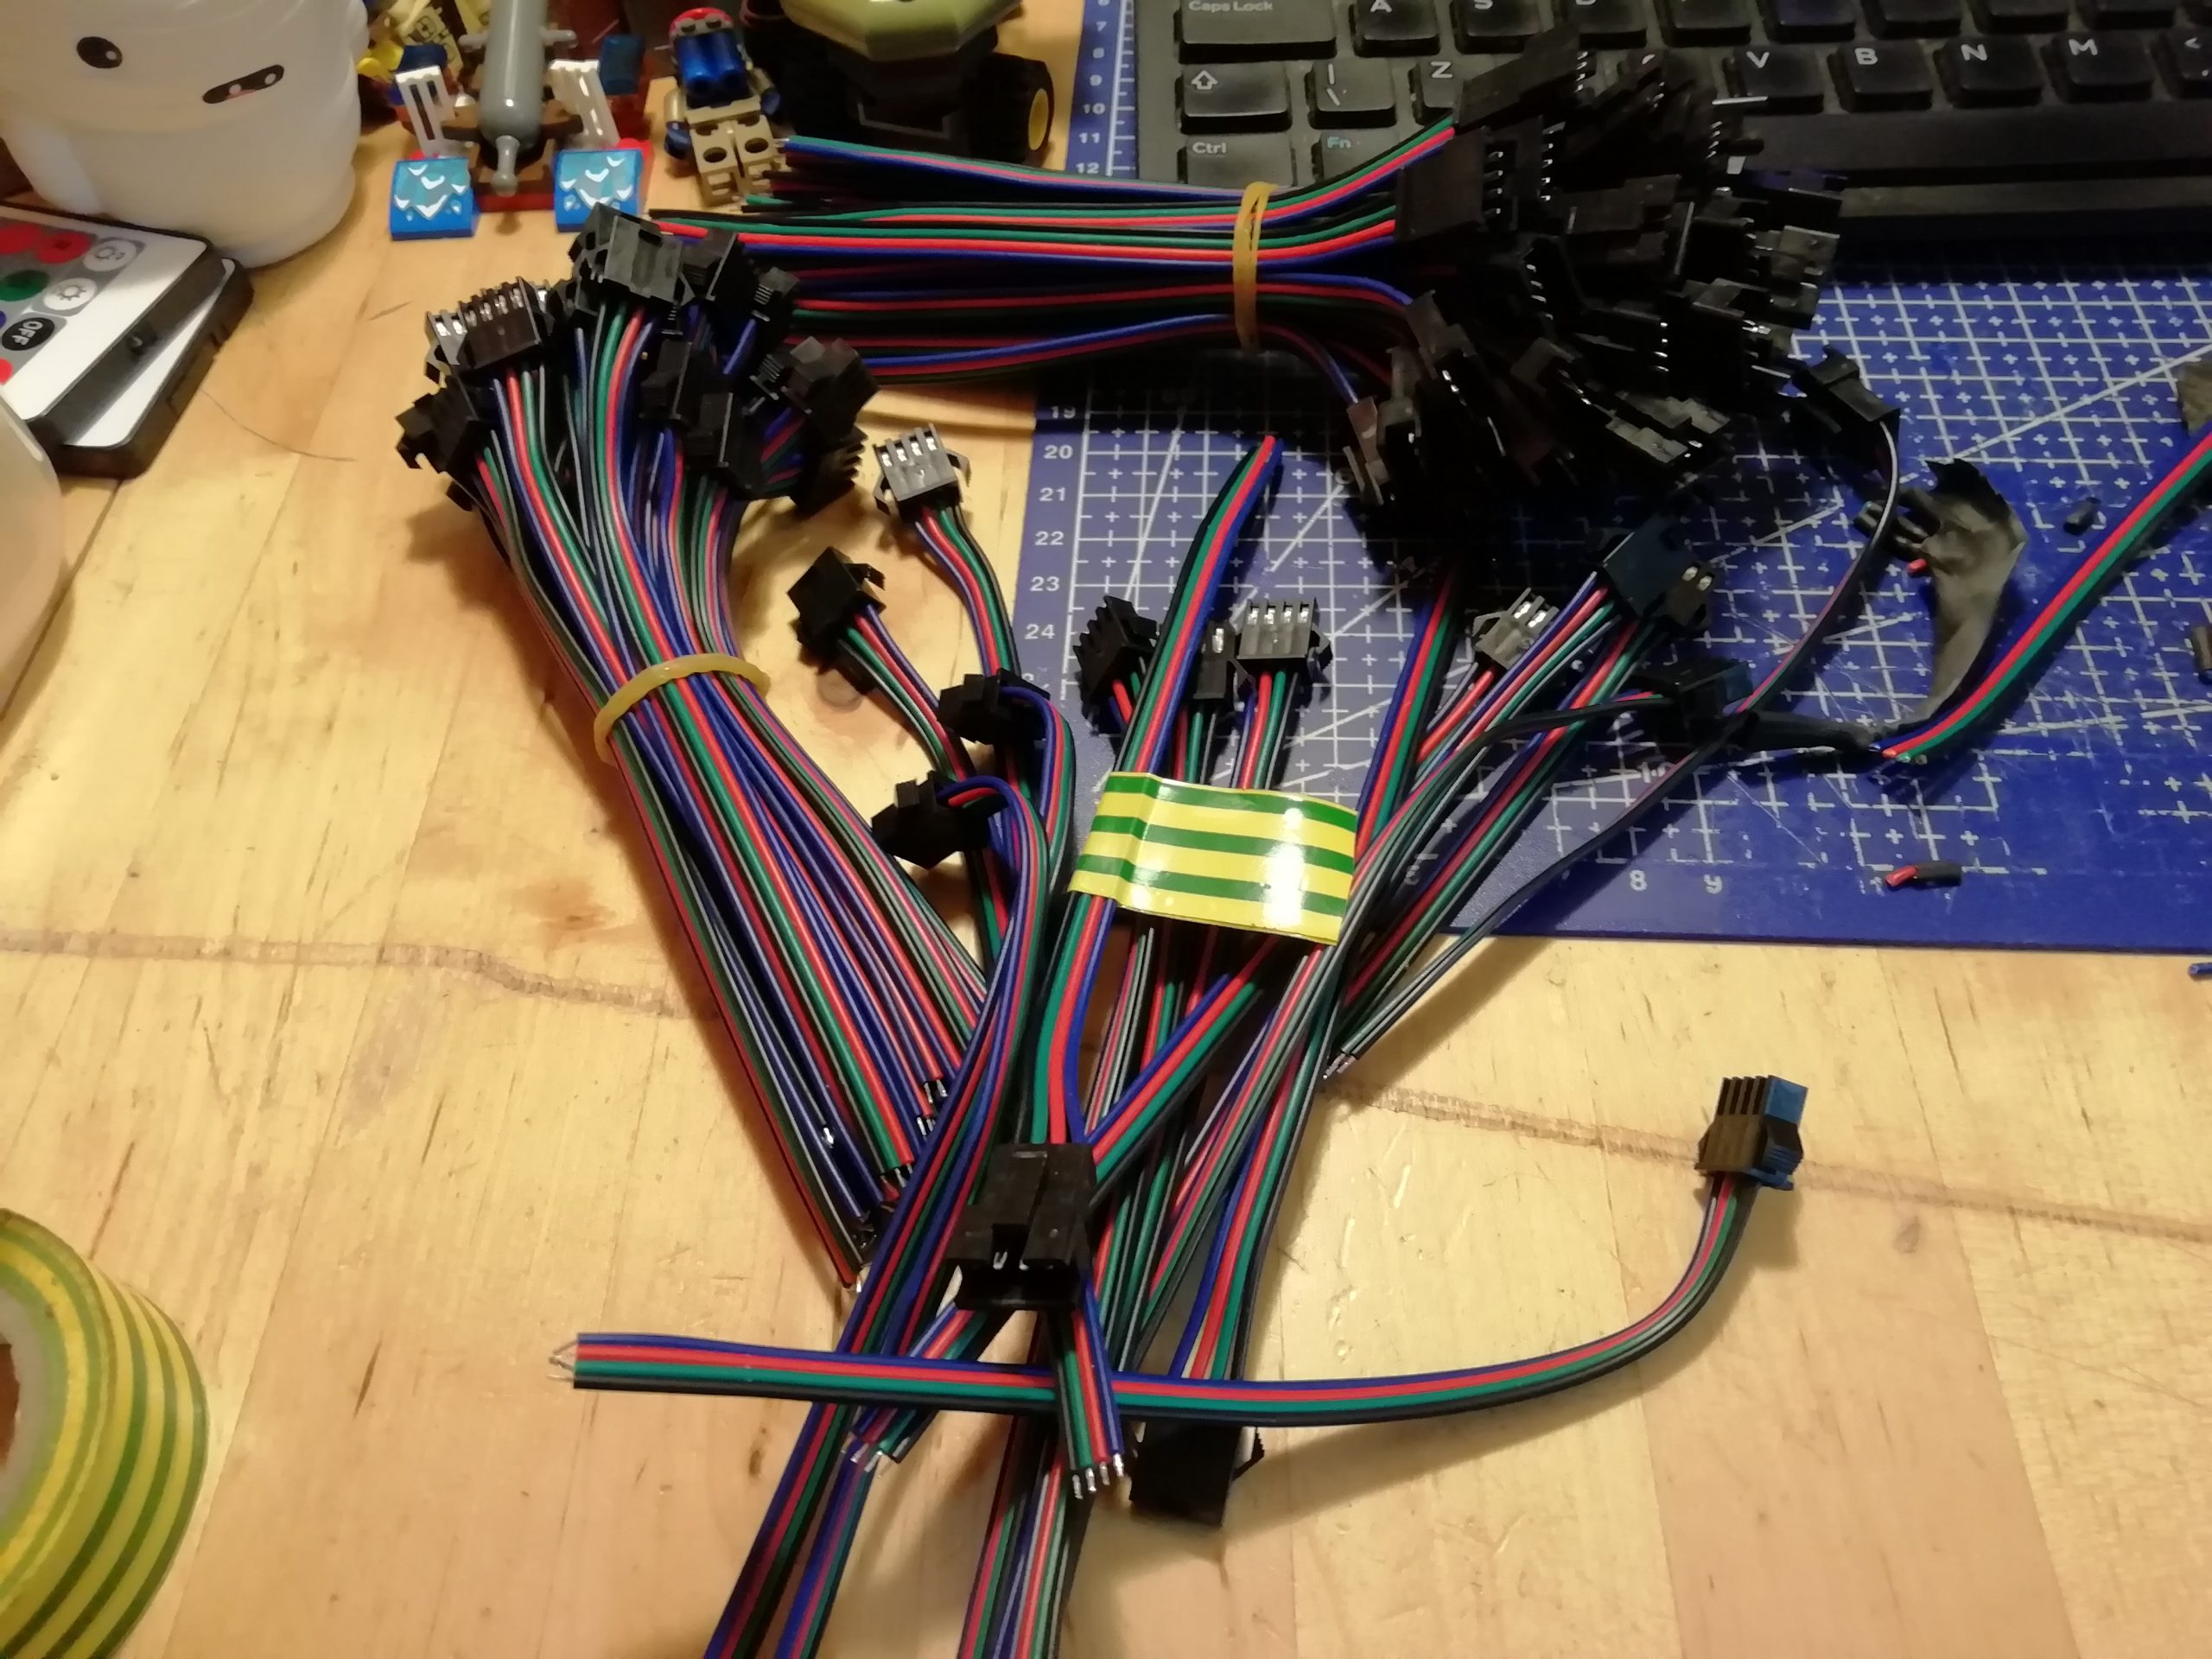
My soldering is improving…. this is an example before I slid another layer of heat shrink over the whole lot to stop the different wires separating further.

The kit came with an overly complex controller that features a lot of preset colours and fades.

The final set up….


3x4mm Gunmetal curb chain with tri-ring features and angular pendants. Two lobster clasps fasten this piece, one behind the neck and one at the lower back. It has butt chains!



This content is restricted to subscribers
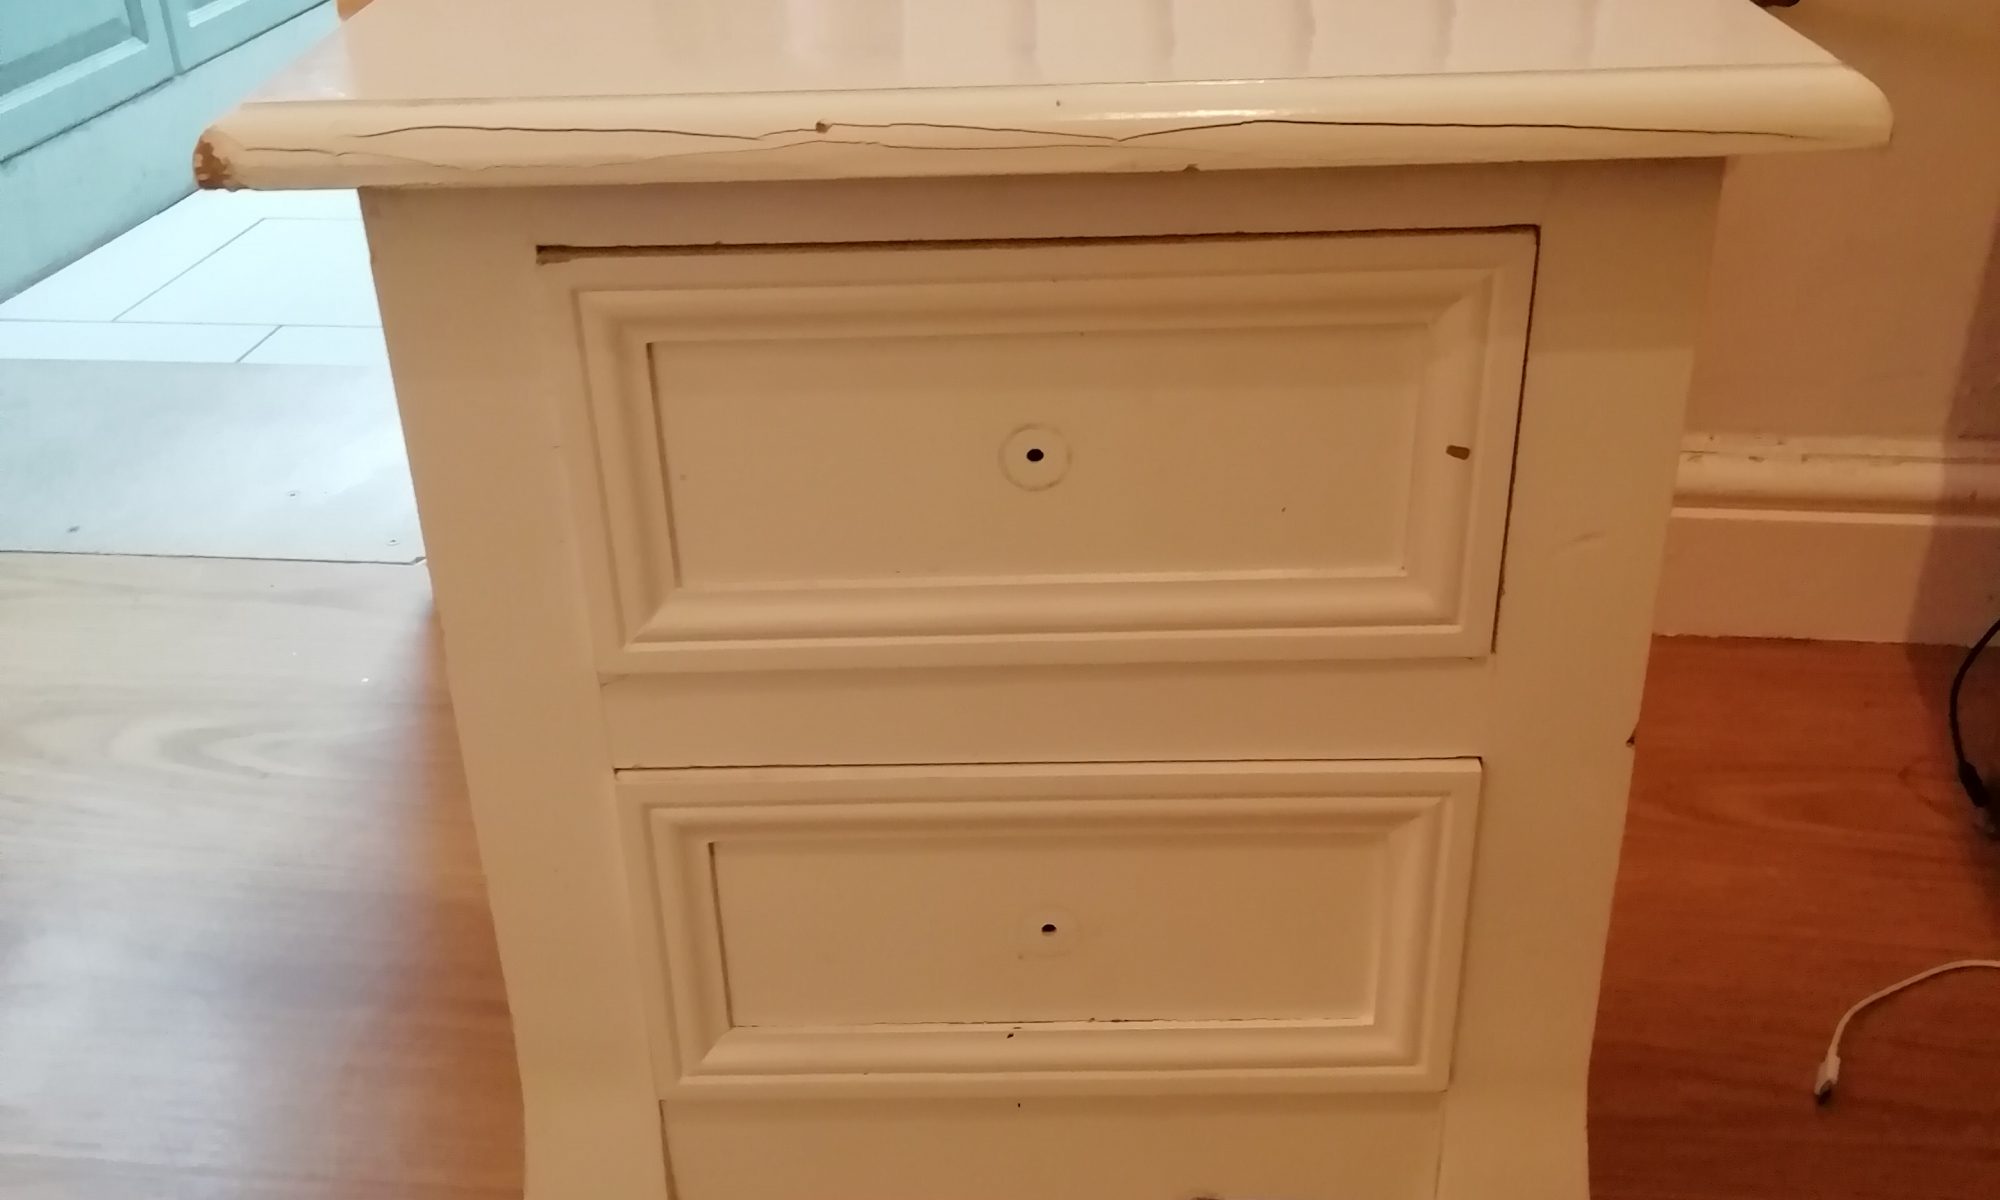
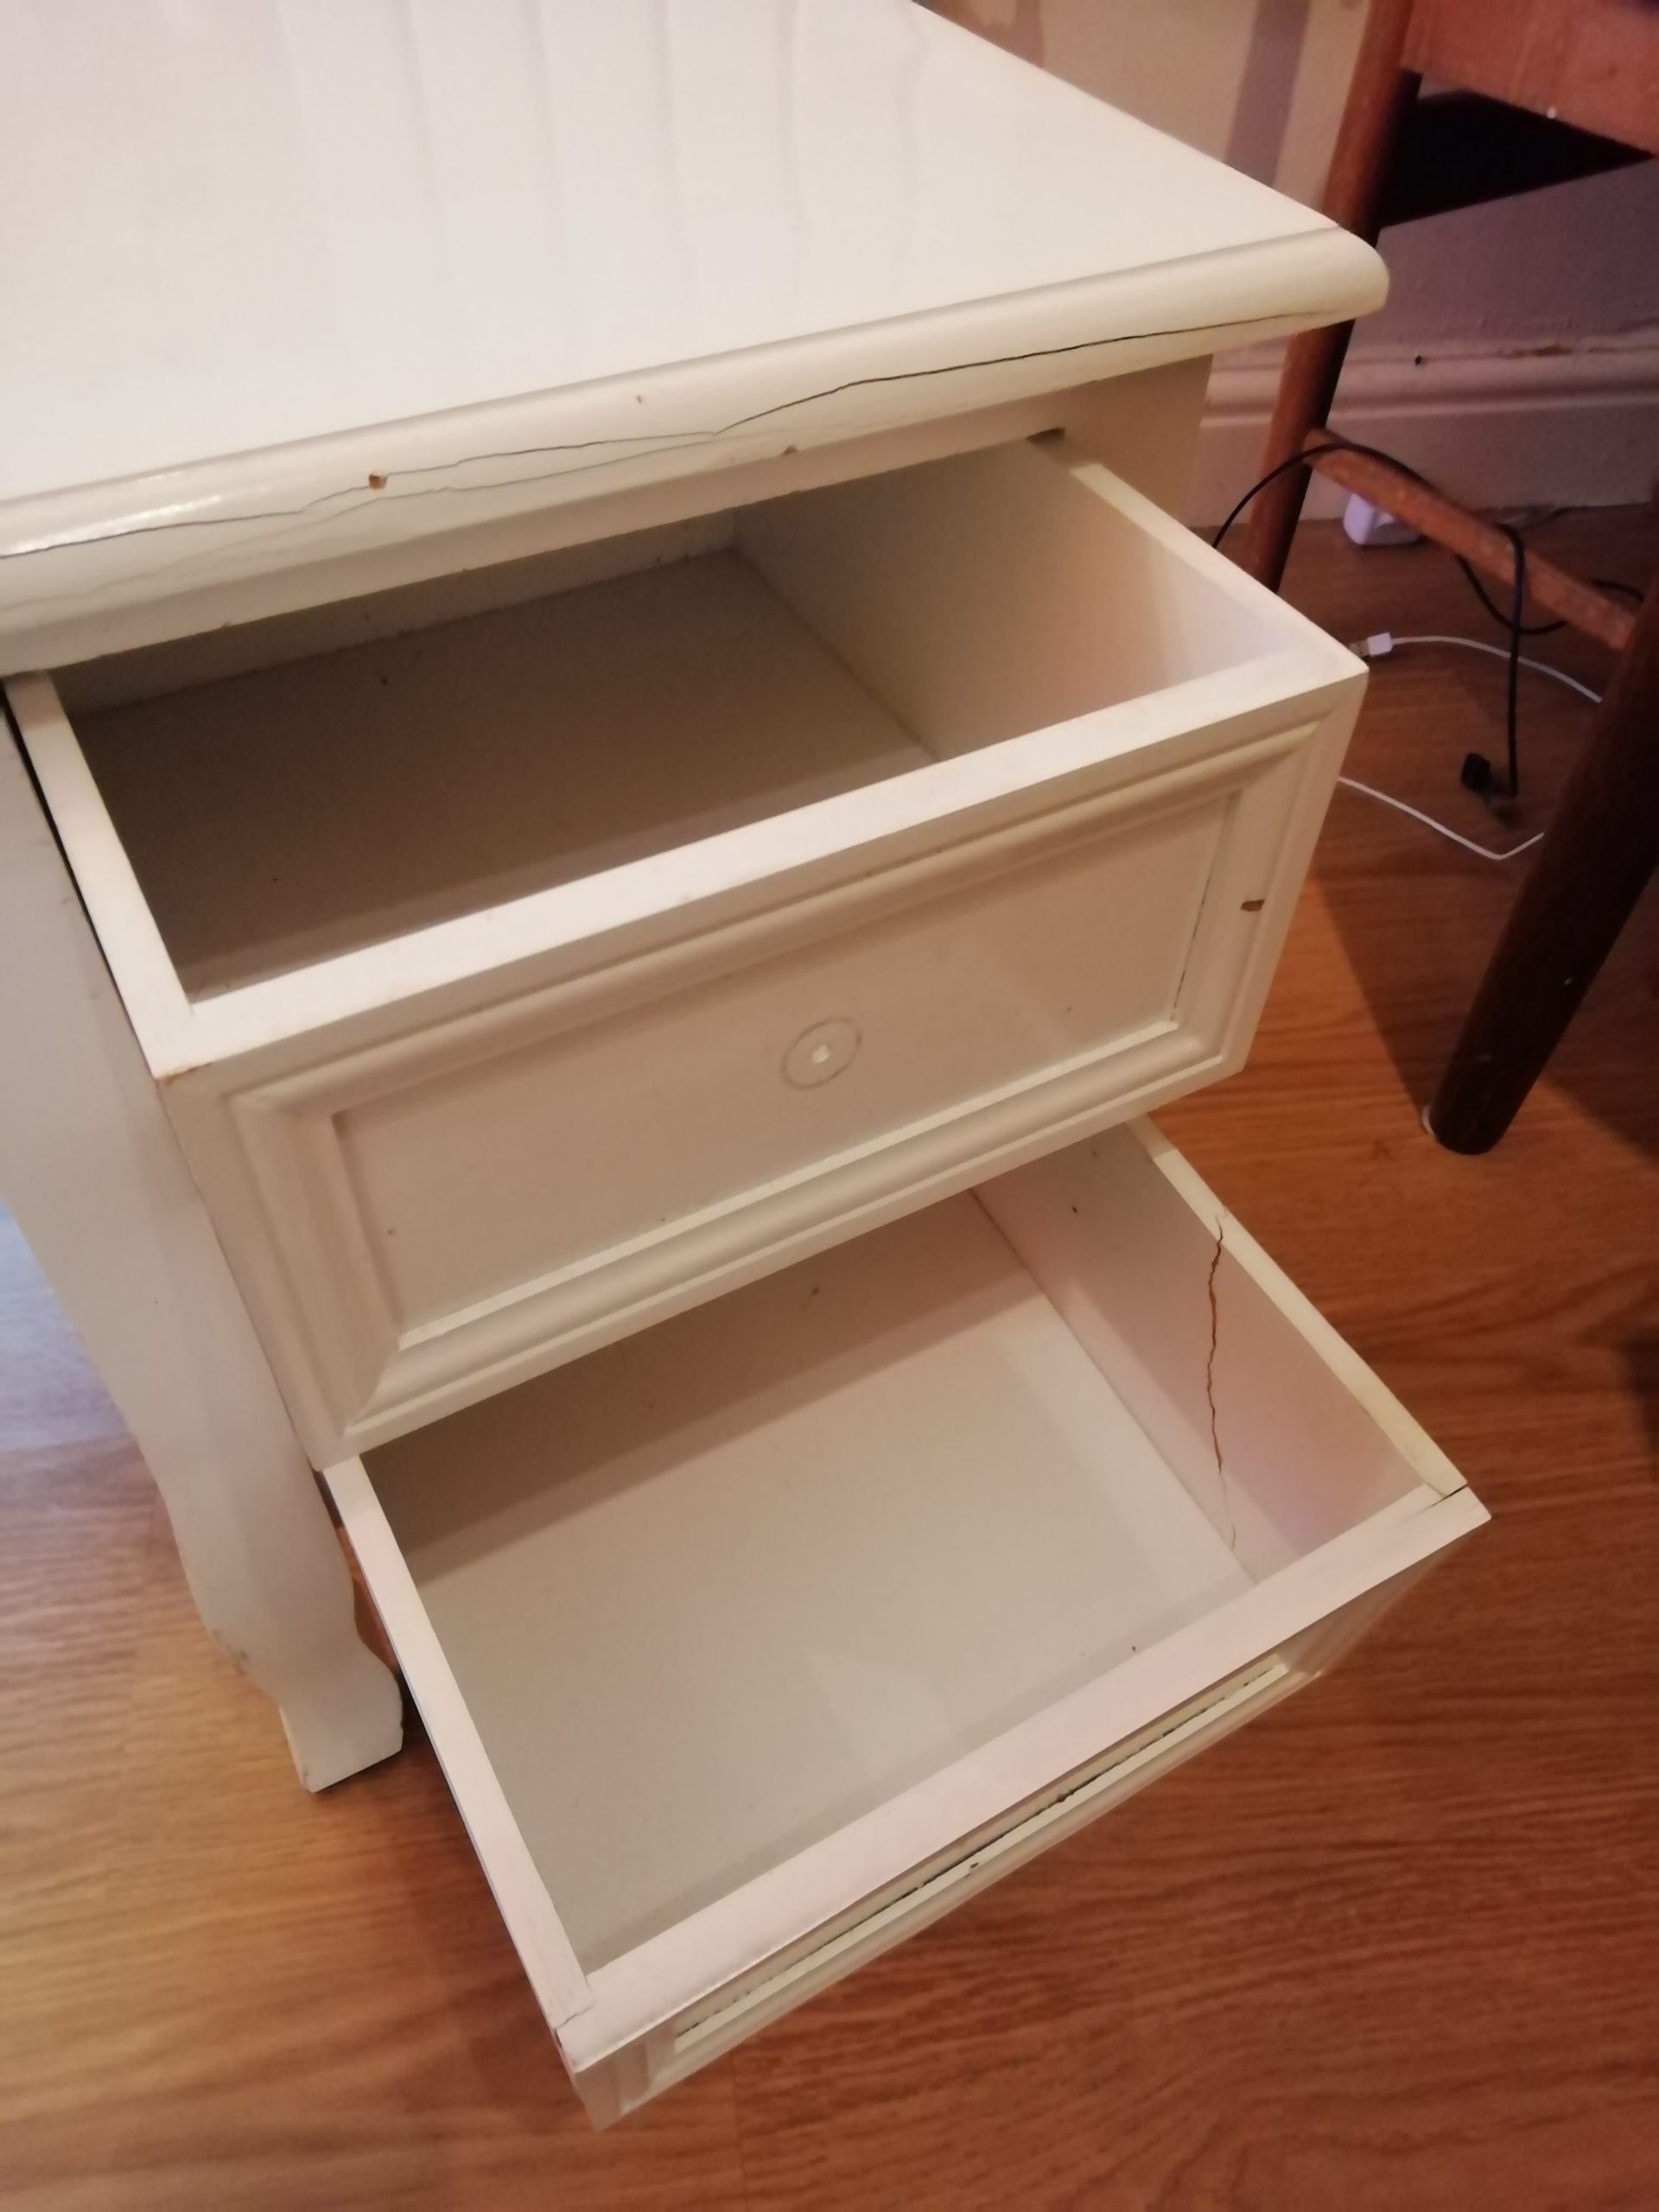
Yet another roadside find. It needs a lot of TLC but I’ve got plans.


This is the paint I’m thinking of using:
These are the handles I’m going to use:

https://www.aliexpress.com/item/32891395361.html?spm=a2g0s.9042311.0.0.33654c4drPsaUI
The first step was to fix the side panels. This was fairly straightforward as the indent was quite deep so I could just cut some 3.5mm ply to size and fit the panels over the existing sides.


The nicks and dents I was going to fill but I think I’m going to leave them as-is to let it be slightly beaten and aged.
OK so I made a stupid decision, at the moment of buying the paint I changed my mind and went for some blackboard paint. It turned out to be waaaaaaay too think and in painting it on I was losing all of the detailing on the moldings. So I removed all the paint that I had applied, let everything dry and then decided to spray the piece instead.

I had this lying around so I tried this and it looks great…. now I have to wait for more to arrive as I’d used most of it already on the Kraken Lamp and Dolls Head Lamp.


Roadside find that I couldn’t walk past made into something I’d actually keep.
This is how I found it. I checked the wiring and all seemed fine. Tried it with a bulb and it all worked.
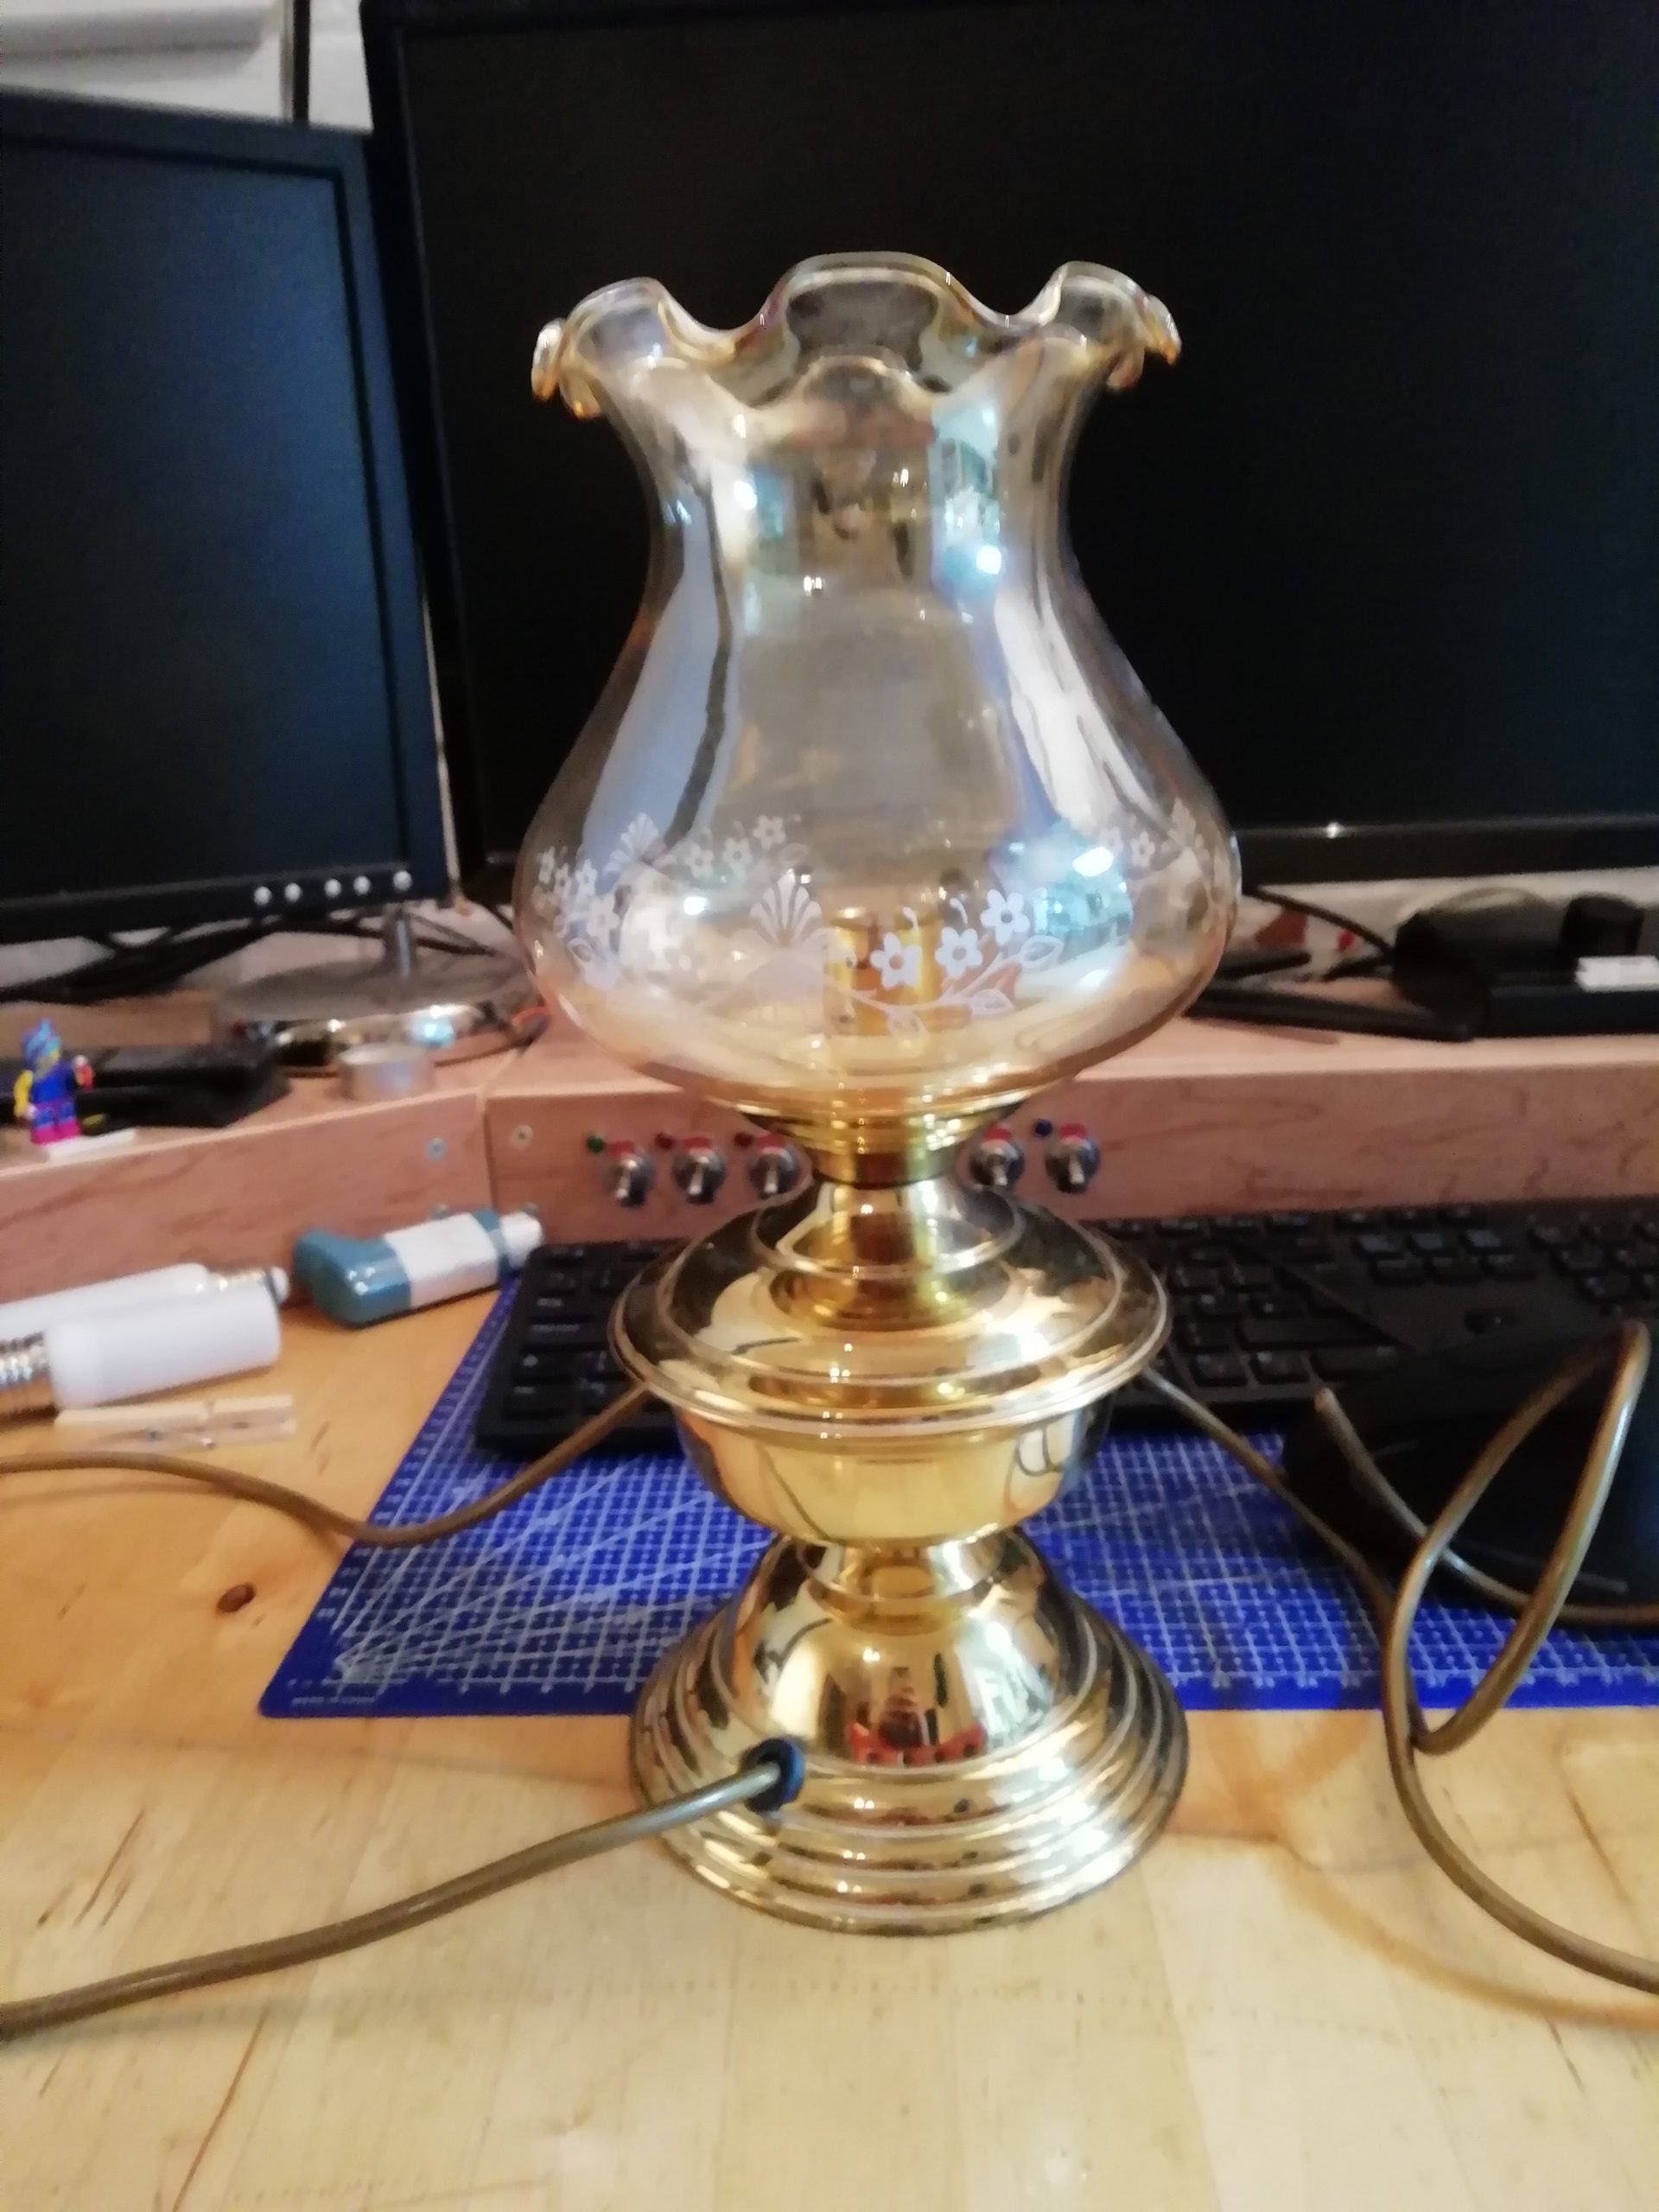
First step was to remove the glass, sand the surface to help the paint adhere. Then spray paint it matt black.

I missed photographing the next step for some reason! I ground the surface of the glass, with a dremel to remove the floral pattern and to frost the glass. I knew that I wanted to use a flickering bulb and they really need some extra diffusion to help the illusion of being a flame. Slow and steady is the trick with the dremel, it took me around 2 or 3 hours just to frost the glass and I only chipped one of the bent over lips when rushing at the end.
Last step was to freehand the tentacles in a black acrylic paint. With the light behind it took a couple of coats to get a constant matt black.

The photos don’t do it justice so I will try and sort a video out.
