Roadside find that I couldn’t walk past made into something I’d actually keep.
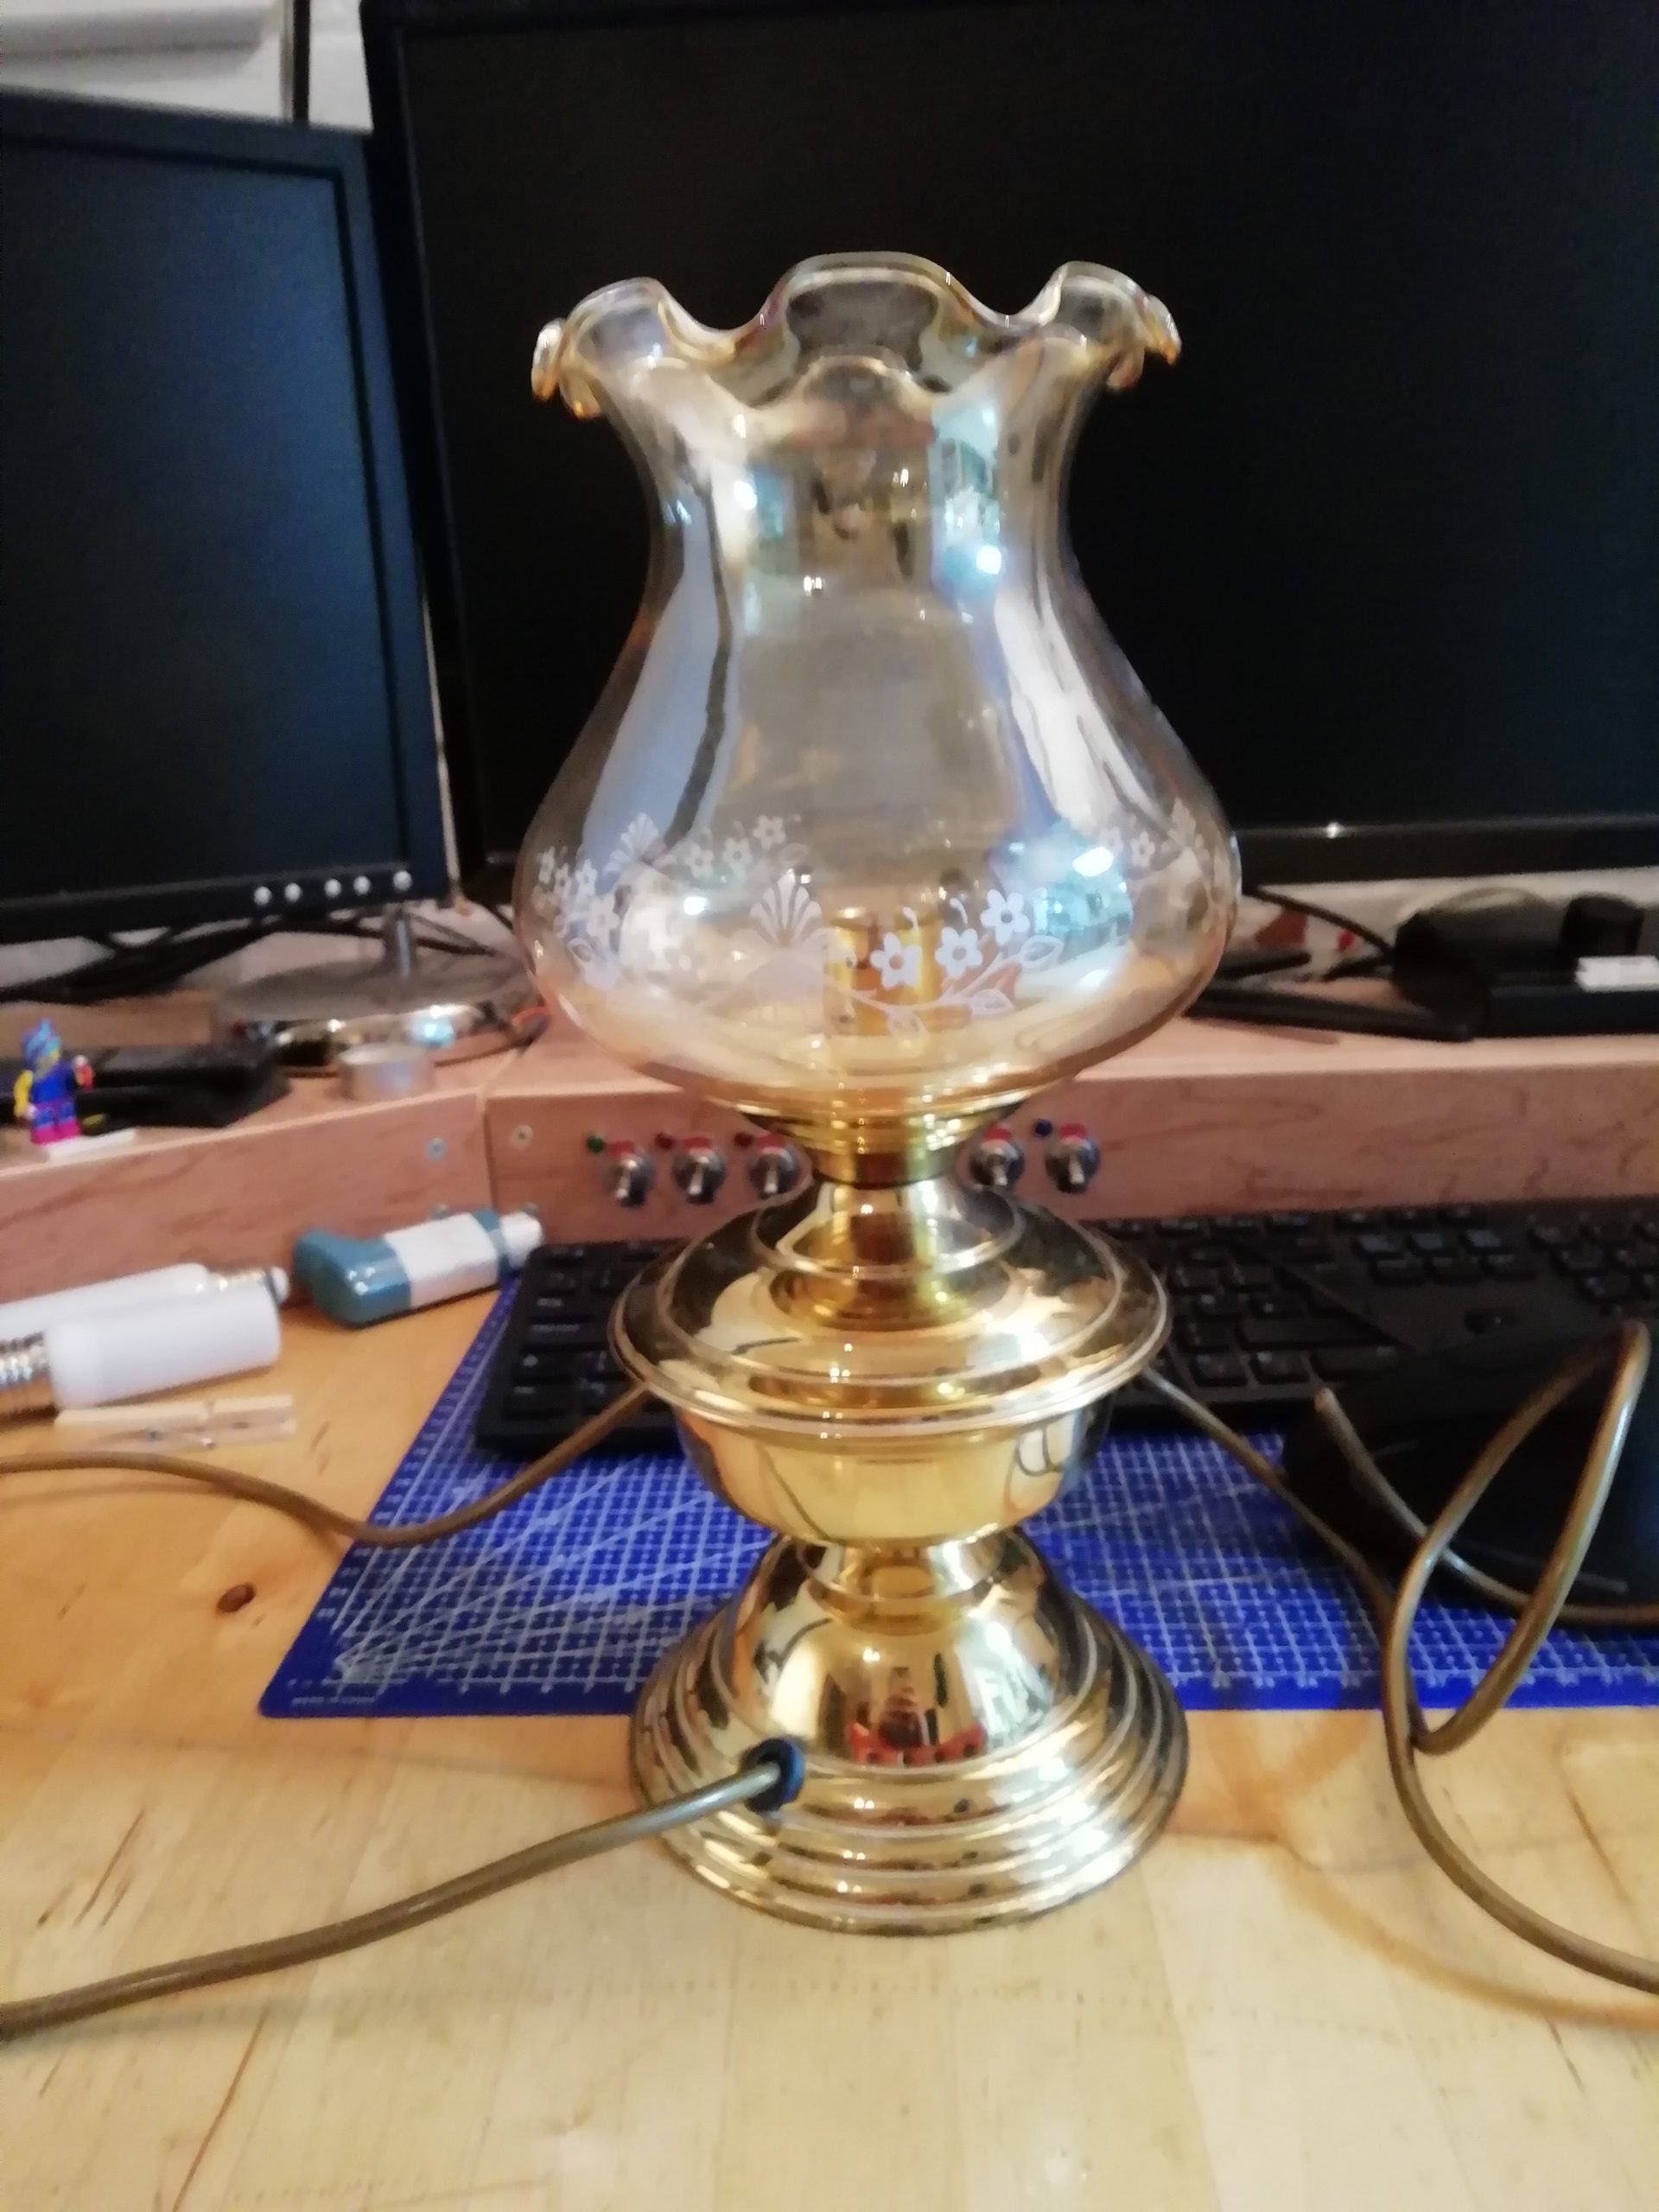
This is how I found it. I checked the wiring and all seemed fine. Tried it with a bulb and it all worked.
First step was to remove the glass, sand the surface to help the paint adhere. Then spray paint it matt black.
I missed photographing the next step for some reason! I ground the surface of the glass, with a dremel to remove the floral pattern and to frost the glass. I knew that I wanted to use a flickering bulb and they really need some extra diffusion to help the illusion of being a flame. Slow and steady is the trick with the dremel, it took me around 2 or 3 hours just to frost the glass and I only chipped one of the bent over lips when rushing at the end.
Last step was to freehand the tentacles in a black acrylic paint. With the light behind it took a couple of coats to get a constant matt black.
The photos don’t do it justice so I will try and sort a video out.
I love Pump Up the Volume…. I want the middle finger light to go above my work desk. I think I can do it easily enough with a USB LED bulb thingy as I have a load spare.
Here are a load of images I stole off YouTube clips…
It doesn’t seem to have a switch in the film, there appears to be a separate switch attached to one of the mixers who’s sole function is to turn this light on!
I think I’m going to skip this and have a small box with multiple switches for various different lights.
There are also a bunch of other lights …
There are a few scenes where the ‘No’ is covered over but it would be cool to have the ‘No’ and ‘Vacancies’ on different switches.
This one needs to be made as well but possible with the a separate switch so that I have a single control panel for the different lights.
I have no idea what this is but it is awesome and I want it!
Possible tattoo ideas?
On with the Build
If I base everything around 5v USB then I can chop and change as I want. It seems like I’m using 5v USB connectors wherever I can. I don’t like attaching trailing leads to projects, I much prefer mounting sockets and removable cables as you can then swap out cables for different types/styles/lengths of cable.
These are the type of lights I’m going to use. Look for USB light on aliexpress / ebay to find them, they are cheap!
burst
I’ve decided that my control box / switches are going to be in a separate case like the film but I’m not sticking to the film and I want to control multiple lights from one box.
These are the switches that I am going with. They are chunky, overkill, satisfying and I love them! I periodically buy handfuls of them as they find their way into various projects.
As always I do a rough sketch / sanity check before I do anything else.
I might add an LED to the switch box to show if the switch box has power.
That is pretty much finished so back to this! I was going to make a rough first draft as we are in lockdown due to COVID-19 and I can’t get parts but I just kept going…
The slot is cut for a chunk of perspex but I didn’t have any… what I did have was a plastic milk bottle that I cut up.
…and then traced the image on straight off the screen of my laptop…
Painted the box red and finished the wiring. I went for the dimmest of the lights in the end as they were so bright. I even had to bounce the light off the back of the box as it was too bright shining straight out.
The camera can’t show the light and the image on the screen but in person it comes out fine!
Improvements
I should really go back and tidy up the edges of the of the inside of the front plate.
The switch and USB port should also be nicer mounted on a metal panel on the side of the box. The wood is quite thick making it difficult for a clean mount. I also need to get a bunch of better surface mount USB ports.
I’d thought of this and then Adam Savage beat me to it! An electronic flickering battery powered lamp. There has been a release of much more realistic electronic fire bulbs since they have started using addressable LEDs. I want to convert some of them to battery power to go in various lamps that I own.
So I cut the base off, went to plug it in and poke at it to work out what DC voltage it ran on and the transformer audibly popped. So I cut the transformer off and went with guess work.
3v…. Nothing, 4.3v… all LED’s on but no flickering (3xAA Batteries), 5v…. all working.
Turns out I was wrong about some of the voltages. The bulb actually alternates between fully on and flickering.
Cheap Ikea lamp to mount it all in! The battery pack can go in the top and then a switch can poke through a random star.
I needed to diffuse the light more, so I popped out each of the glass panels and used them as a template to cut out matching shapes from a plastic milk bottle.
The little latch that orientates the switch didn’t quite fit in one of the points of the star which made the switch just not sit plush. So I filed out the star point…
I tried to hot glue the battery pack into the top of the lantern. That did not go well!
In a flash of inspiration I hot glued some thick foam to the back of the battery pack and then wedged some thin ply underneath to hold it all in place. The foam is thick enough that it is slightly compressed and holds everything in place so nothing rattles or falls out! To change the batteries I just need to press the wood up, slide it to one side and it should pop out.
Neatly and carefully (!) bodge a load of hot glue to hold the LEDs into the tea-light holder.
The step that I missed photographing before this is drilling a hole through the back of the tea-light holder to run the cables out of.
A tiny blob of hot glue to hold the cables behind one of the uprights so it doesn’t drift behind a pane and cast a shadow.
I’ve dry-brushed and smudged the corners of the panes as they were just too clean.
I’ve dry-brushed edges and bits that would wear in silver as it was all too clean and nice!
I want to build a lighting rig. In fact I want to build a couple of lighting rigs. I think I can canabalise a kids trampoline to do this. Before anyone whinges, I’ve got another trampoline from freecycle and the boy gets to choose his favorite before I hack apart the other!
Rig 1
The first rig I want to be a simple small bar over my desk as a place to rig a couple of lights for testing and to have them out and in use as oppose to boxed for most of the time. I should be able to do this from either the legs of the trampoline or the uprights that hold the netting that stops the boy bouncing off it.
Rig 2
The trampoline breaks down into 4 sections that gives me several modular options of making a small circular rig, an S shaped rig using all four pieces, 2 smaller S shaped rigs or 4 separate curved sections.
Normally the pieces just slot together and are held in place by the tension on the springs and the bit you bounce on, as I’m not going to have this, I’m going to drill through the bits that slot together so that I can drop a bolt in to hold them together.
Mounting Points
Ideally I would weld a loop at the end of each section to attach a supporting chain. But as my welding is none existent I’m going to have to settle for bolting the sections together with eyebolts, having the supporting chain go around the bar and attach to itself AND the eyebolt with a quick link. This way the bar rests on the support chain and the load of the whole rig plus lights is not on the nut on the underside of the eyebolt. The eyebolt will prevent the chain slipping along the bar but should not be considered as load bearing.
I want a creepy dolls head lamp! [EDIT: I have a creepy dolls head lamp and it does make me happy, now I have left over doll parts.]
Here’s some random inspiration… [pin_board url=”https://www.pinterest.co.uk/fearpig/doll-parts/”]
Looks like someone has already done a tutorial and I quite like the outcome but I don’t like his build quality!
The Build
So, I now have the doll, I think it was £2 from a car boot sale…. just need the lamp base!
Rescued this from a bin!
Started to shave back the hair…. I’ve left it as a mohawk so far but I think all of the hair is going to come off!
Going to hoard these for later as I’m sure they will come in handy for something.
Unexpectedly the lamp base easily broke down into several usable parts. I think I’m just going to use the bottom bit.
Here’s the base with a matt-black spray coat, looking better already.
Here it is again after a silver acrylic dry-brush.
Here a comparison to an unpainted / untreated piece of the original lamp.
Here’s the finished base with the head with a matt-black base coat. I’m as yet undecided if this will be the final coat for the head or if I’ll treat this further to weather it. Next thing to do will be the electrics. I’ve decided on a 5V USB system.
I got a couple of these on AliExpress as they were ridiculously cheap (about £1) and I thought they’d come in handy.
Here’s what it looks like so far… the wiring is still bodged at this point as nothing is glued in place and the USB extension underneath has too long a socket so the legs won’t sit flat, there also isn’t a switch. This should all be rectified when the next bits come in from AliExpress but really happy with it so far.
So now I have a USB extension cable with a switch on it from AliExpress as well as a shorter light (with fewer LEDS, but almost as bright).
A lot of hot glue later…
Improvements for next time:
…and there may well be a next time as I really like this!
A more ‘antique’ cable and switch.
Slightly different mounting so that I can use the brighter light.