Sound System

[fearpigprojectstatus]

This is the sound system for the back of the van….

OK…. so I like tinkering and I started off with some 12V computer speakers that I could plug my MP3 player / Laptop / Phone into. That works fine enough and because I found some free ones that worked I never bothered sorting anything else out.

Then I decided that I wanted the option of a little a little more oomph!  …and what the hell, why not make it myself.

This is a great source for answers to stupid questions http://www.diyaudio.com/

This is a link to the board I went for in the end [Edit: should have gone for something with even more oomph!]

……………..poo can’t find the link!

The idea is to find a nice piratey looking box to mount all of this in. I can also use an old laptop power supply to either power this or to power everything 12V!

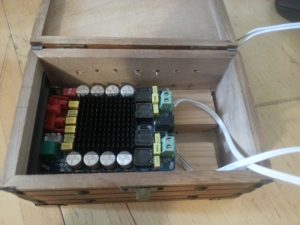
This is the board that I got…. its surprisingly small for so much umph!

Here is the random car-boot-sale mini pirate chest that I managed to pick up for 50p

First half done…. the walls of the box were too thick for the controls and connectors to poke through.

So I cut a bigger hole and mounted a plastic plate on the inside which the control and connectors poke through.

The next step is to do the same again on the other side for the power and speaker connectors. You can just about make out the air holes drilled in the back of the box. Hopefully this is enough to stop it over heating but I’ll have to run it for a while to find out.

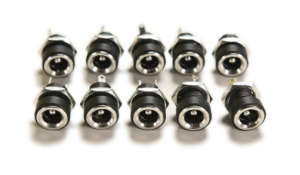
So I have ordered some panel mount dc power sockets…

https://www.ebay.co.uk/p/10x-DC-Power-Supply-Jack-Socket-Female-Panel-Mount-Connector-5-5-X-2-1mm-2wh/9007123246?iid=192380454945&_trkparms=aid%3D555018%26algo%3DPL.SIM%26ao%3D2%26asc%3D49131%26meid%3D06438587a2f9480e8c020c5ff17011a0%26pid%3D100012%26rk%3D1%26rkt%3D12%26sd%3D273115972673%26itm%3D192380454945&_trksid=p2047675.c100012.m1985

…and some speaker connectors…

https://www.ebay.co.uk/itm/5x-4-Positions-Push-In-Jack-Spring-Load-Audio-Speaker-Terminals-Panel-Connector/322630397278?ssPageName=STRK%3AMEBIDX%3AIT&_trksid=p2057872.m2749.l2649

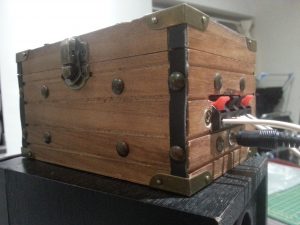
The finished article

…so I went back and cleaned up the wiring a little as well!

Gypsy Space Caravan

Project Status: Complete

I was going to a festival and had spotted a cart/trolly in Asda to drag the boy around in. Weather forecast was scorching sun and/or thunderstorms! So commenced “Operation Gypsy Space Caravan”

The folding trolley, its an Ozark Folding Trolley and cost me £40 from Asda.

This is what it looks like when its folded up…


Requirements:

  • Should be able to flat-pack
  • Should be water proof (ish)
  • Should provide sun shelter
  • Should be light weight

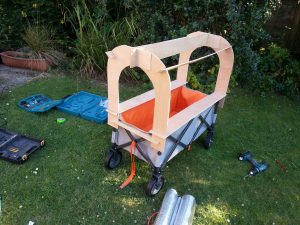
I’ve got loads of various ply off-cuts left over from doing the van, so the cunning plan was to build a frame from ply that I could then drape silver insulation / bubble wrap over, which I also have stacks of left over!

I decided the ply frame should just slot into each other so that it can flat pack easily and any piece should go anyway around so I don’t need to label them.


This is going pretty well so far…. at this point though I realised that it also comes apart fairly easily so a few strategically drilled holes allowed me to keep everything pressed together with bungee cords.

The idea with the cover was to have it able to roll up the sides or slide the front half back over the back half. In reality it was either all on or slid back and I didn’t ever roll it up.

To fix the cover in place each end of the two strips is rolled and glued around a piece of dowel, I added some furniture tacks as well as I wasn’t convinced the glue would be enough. I then added hooks in each end of the bits of dowel (so 4 bits of dowel and eight hooks in total). I could then loop more bungy cords over the hooks and through the frame of the trolley to keep the covers in place.

In all its glory…

Flat-packed and stored in the trolly…


Seal of approval…. I ended up having a cool box in the back with his pillows leaning against the cool box. Good for water, snacks and beer 😀

It proved to be robust enough to survive with his nibbs climbing in and out of it and sitting on the the lower horizontal bars. He also loved it so much that when he wasn’t in it, he insisted on pulling it.

Downsides.

The whole thing is heavier than I would like it to be and it was a massive festival site that I was dragging him over so it ended up being quite hard work but still worth it. I will aim to reduce the weight before the next festival. I would also like to add fairy lights, a dragons head on the front and a tail at the back!

Pirate Costume

Project Status: Complete

So, it might be noted that I love pirate costumes and stuff! So this is an ever ongoing costume for me. Here’s an ever growing source of some supplies and inspiration.

  • Axe - Boarding axe for all your boarding needs.
  • Beads - Lots of beads
  • Belts…. lots of belts! - The more the merrier.
  • Boots - Every good pirate needs some boots.
  • Hat - I need a tricorn hat!
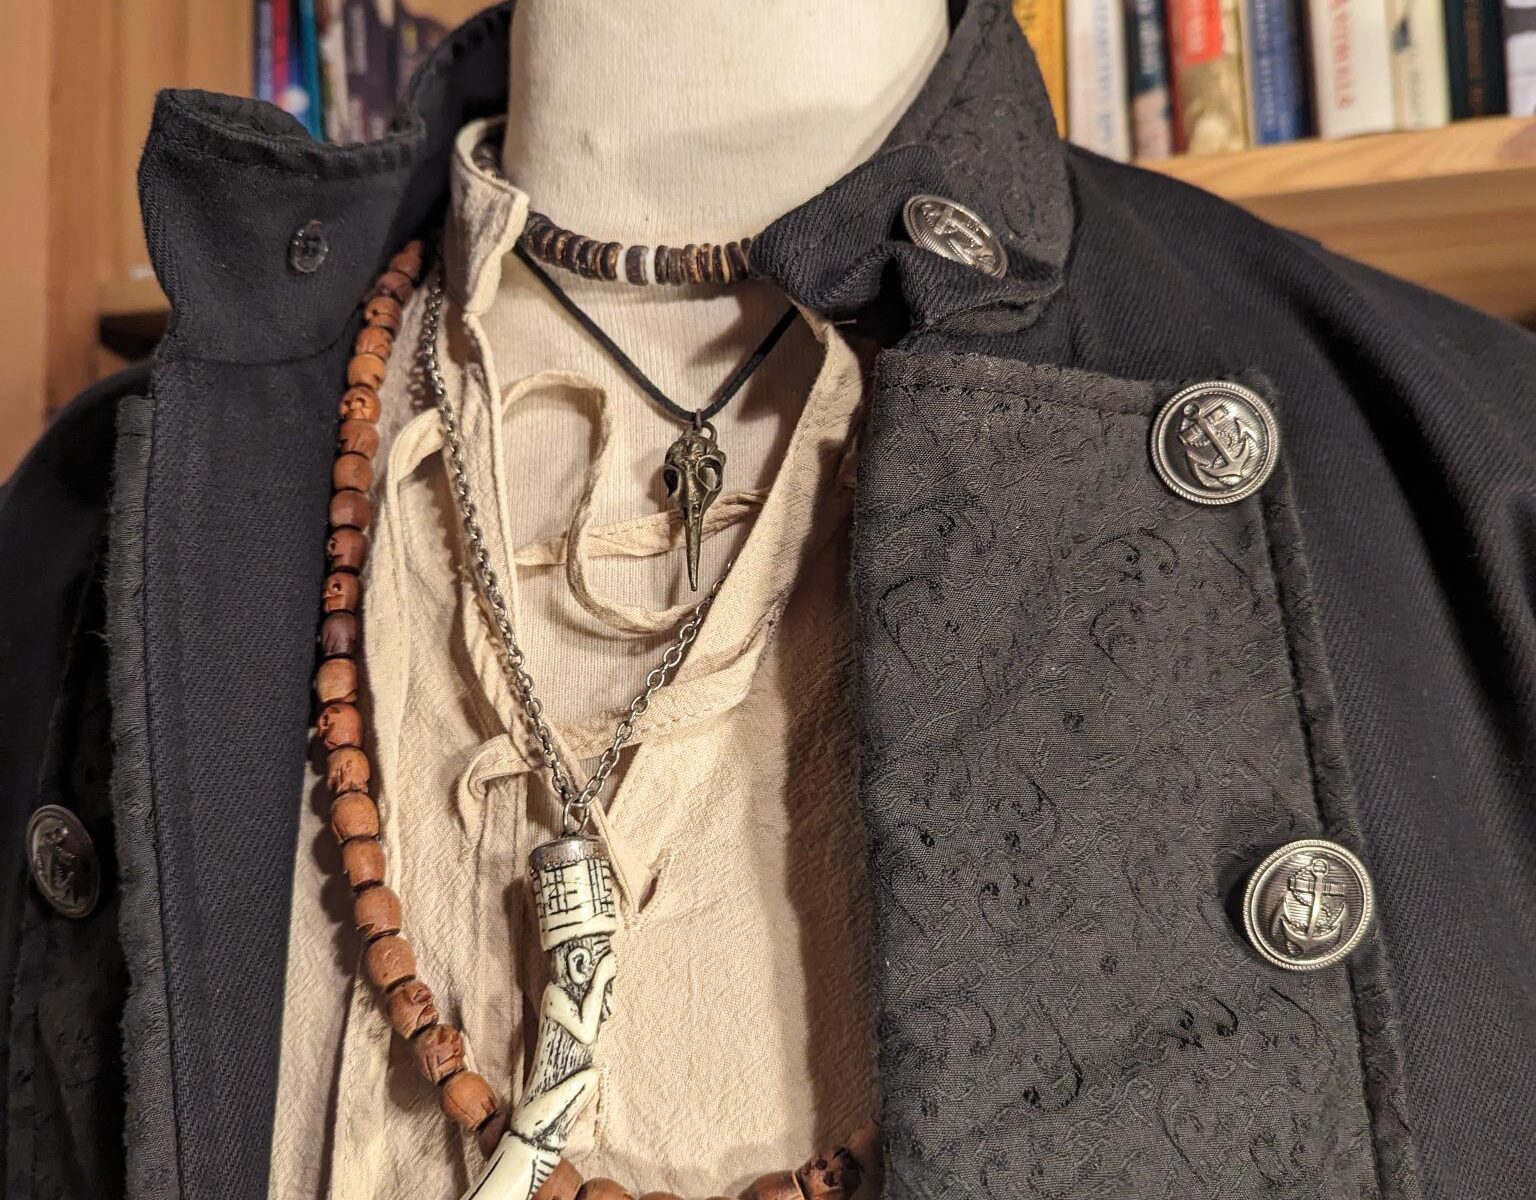
  • Jacket - The new jacket is cool and a big step up.
  • Pistols - I don't want a cheap plastic one as I always break them...
  • Sash - Need a sash for your waist if you're going to be a pirate.
  • Shirt - I was using a random coconut shirt that I'd picked up on my travels but it wasn't quite right. I've now switched to using a 'viking' shirt from Aliexpress...
  • Sword - Some of these aren't available any more but I couldn't afford to spend £400 on a really nice cutlass. I did however stumble on a ceremonial sabre in a second hand shop for £30.

Links to lower in the page…

Here’s some inspiration…

https://www.pinterest.co.uk/fearpig/pirates/


Other sources…

Found a great store for bits…
https://www.thepirateshop.co.uk

Including a good shirt…. 😛

https://www.thepirateshop.co.uk/swordswoman-s-shirt-black


Costume So Far

Awesome buckle
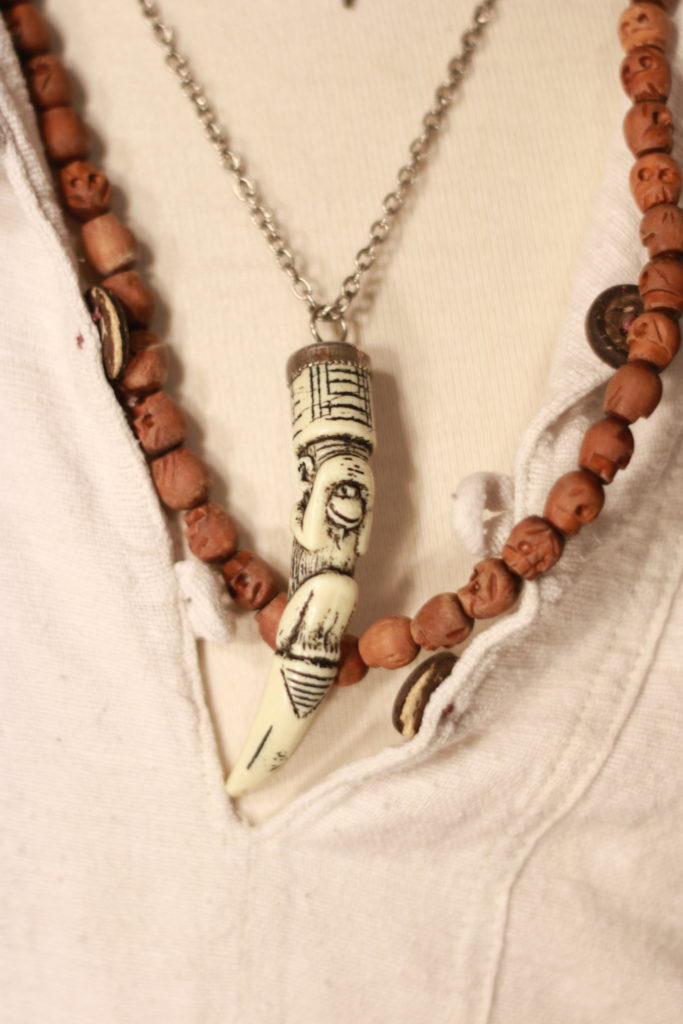
Neck bling
Bronze bird skull
See no evil carved tooth (fake plastic thing from a charity shop)

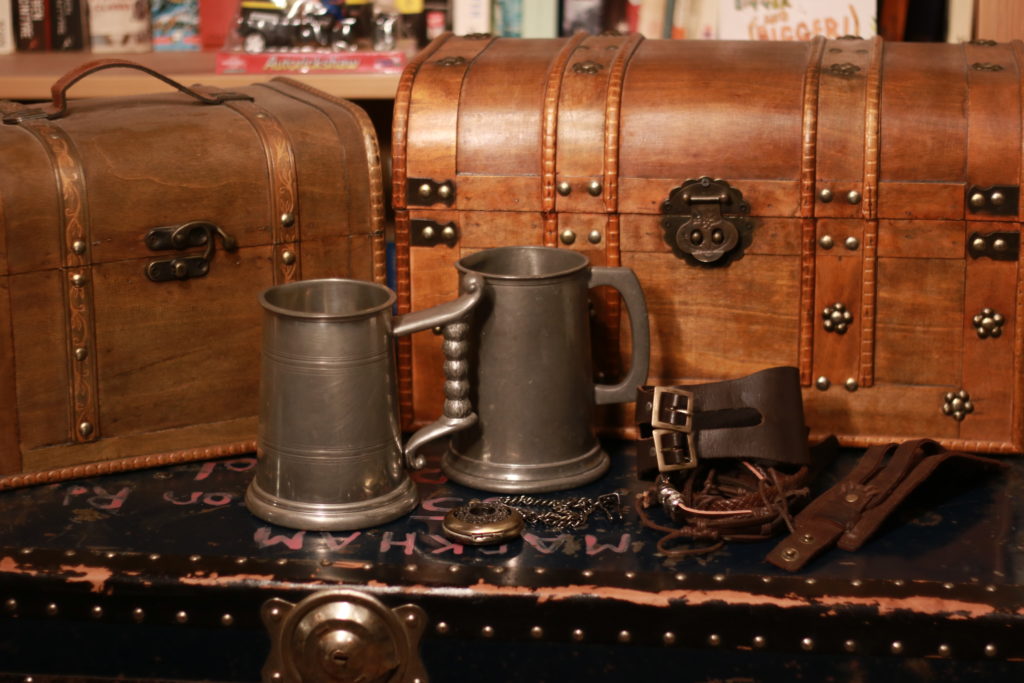
A handful of extras – lots of wrist bling, a pocket watch (not entirely in keeping with the time but looks cool), a couple of small chests and a couple of tankards.


Costume So Far 2

This is the costume now with the new shirt, new jacket, axe holder but not yet done the sword frog to fit that to the belt.

Knife Throwing Board

Project Status: Complete

Intro

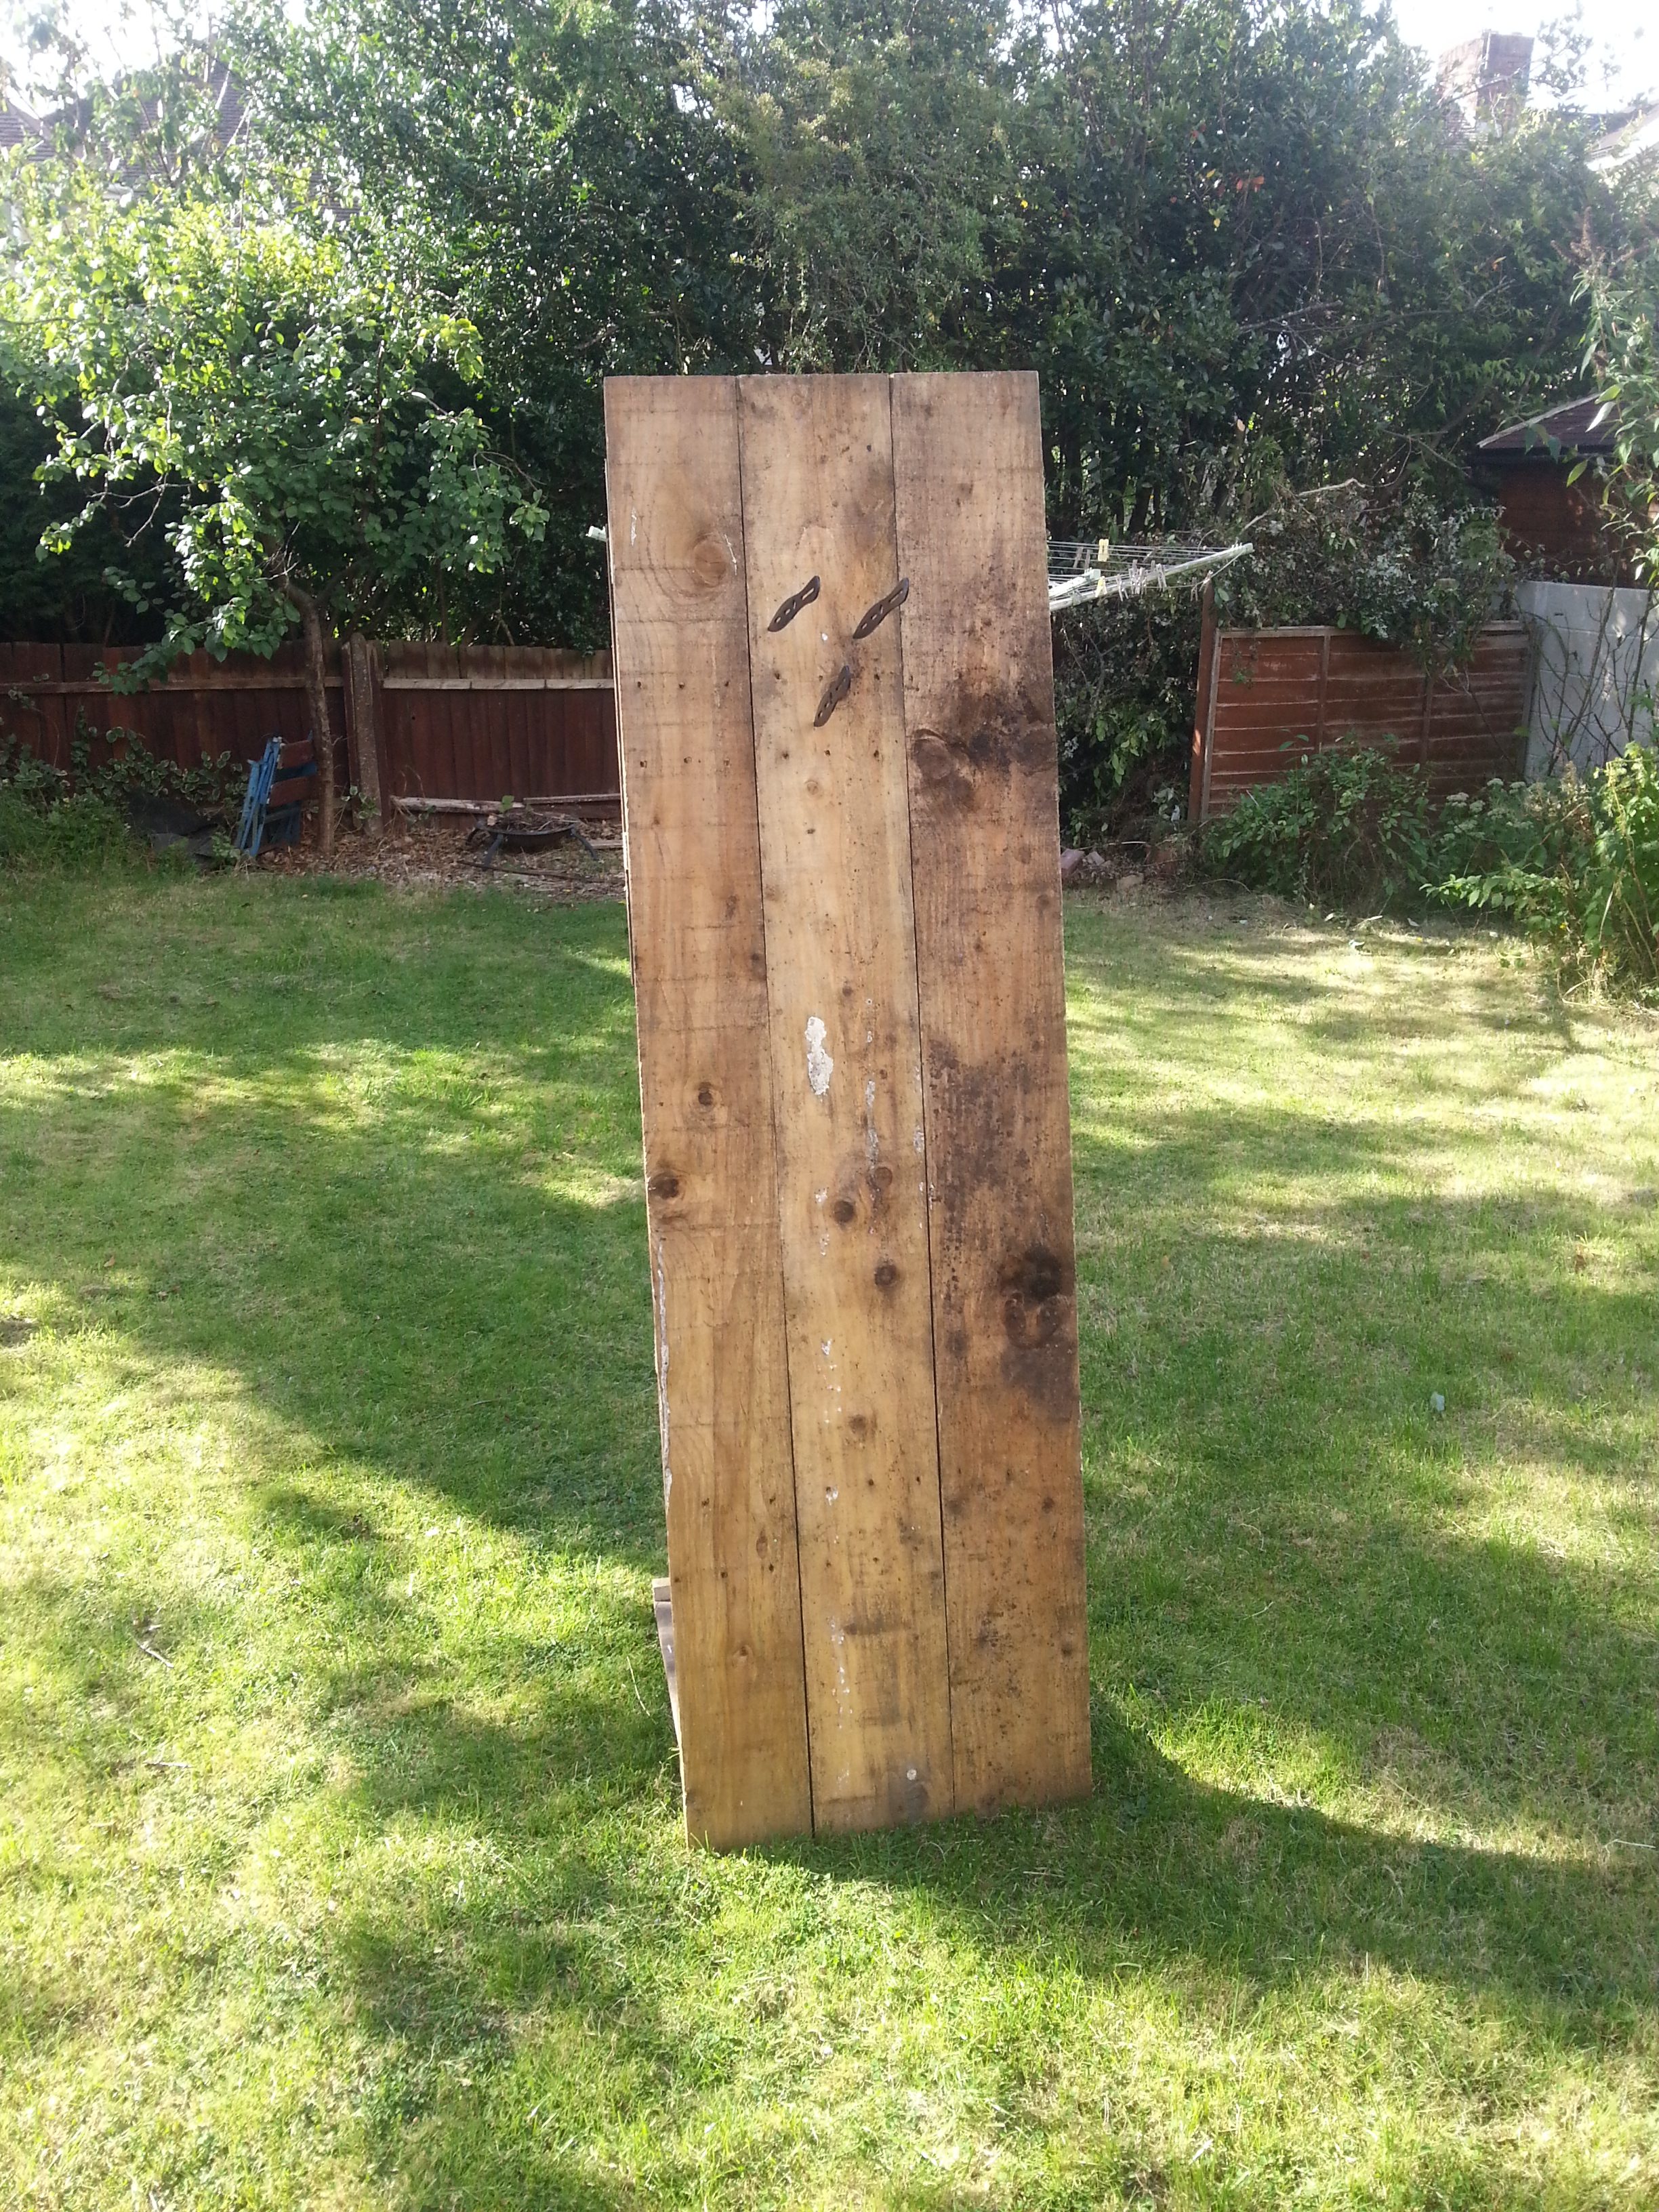
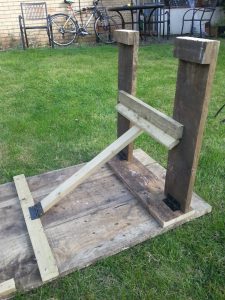
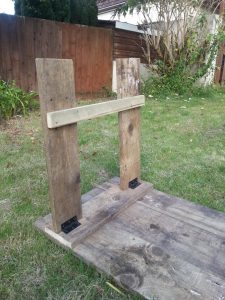
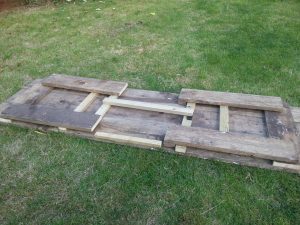
Not many how-to’s on this one as I just built it out of random stuff I had lying around. The idea was for a table that could be stood one one end to throw knives at!

I don’t throw much so the top boards won’t have to be replaced too often!

Materials

5 hinges
4 boards
+ random timber!

Cost

Build

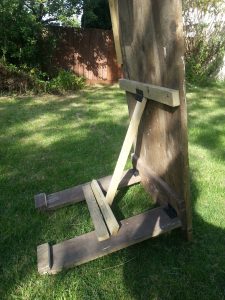
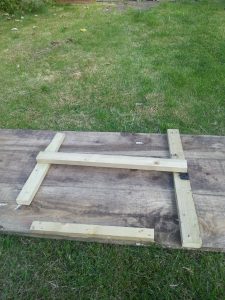
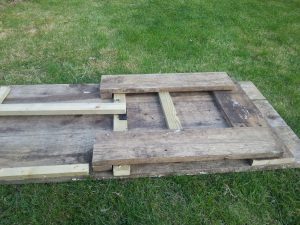
Not many notes you can see pretty much everything from the photos. The only thing to note is that everything is screwed in from the bottom of the table so I’m not throwing knives into screw heads.

3 boards form the top
1 board was cut up for the four legs
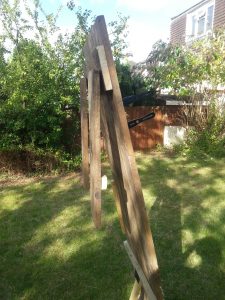
Timber was cut for the support for when it is on end.

All the sizes and lengths weren’t planned, just guestimated as I cut but if you are interested I can measure things.

2016-08-28 16.57.47

2016-08-28 16.58.05

2016-08-28 16.58.11

2016-08-28 16.59.09

2016-08-28 16.59.14

2016-08-28 16.59.31

2016-08-28 16.59.42

2016-08-28 16.59.52

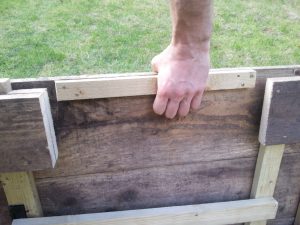
Extra batton screwed on to use as a hand-hold.
2016-08-28 17.00.25

Sith

Project Status: Complete

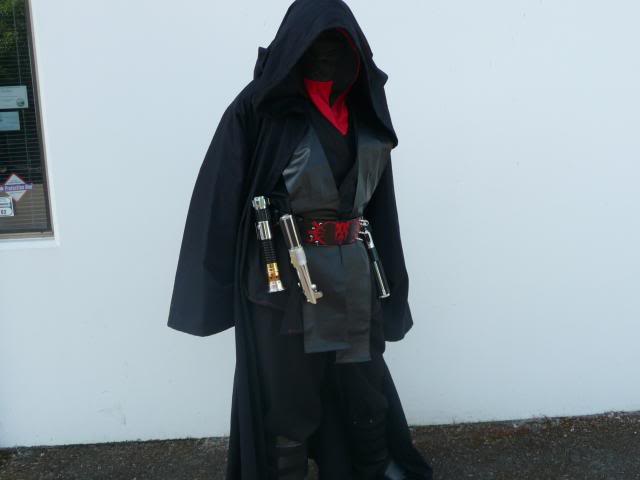
Star Wars costume required for a party, I’ve previously done the Princess Leia (buns and white) and Yoda costumes so decided to go with the Sith costume. It’ll look good with a fire sword or my glow staffs.

A lot of these images are taken from http://www.thedarkempire.org/tde113.html.

[ngg_images gallery_ids=”3″ display_type=”photocrati-nextgen_basic_thumbnails”]

Jedi Robe Instructions

I’m thinking that I’d like a heavy black cloth for the main cloak and possibly even line it in a dark red cotton

Possible Cloth


The Build……

Top

The top I made from an oversized black shirt that I was gifted. I cut off the collar and and sleeves and hemmed the edges with some red biased binding.

Robe

I ended up just buying a robe from from jedi-robe.com, it was expensive but I was running out of time. Its thinner than I would have made for myself but I’m pleased with the shape and size of the hood

Lightsaber

The lightsaber is a Concentrate C4 Glow staff. At some point I’d like to upgrade this to a contact saber from FlowToys – https://flowtoys.com/day-contact-saber. They aren’t a great replica of a lightsaber but I do circus tricks and they are great for that. There is also a lot of wobble in the Concentrate staffs and that’s not great for contact staff moves.

Review

Pretty pleased with the results overall although buying the jedi robe was expensive the rest of it I had lying around. At some point I may come back and upgrade this. It definitely needs a better belt.