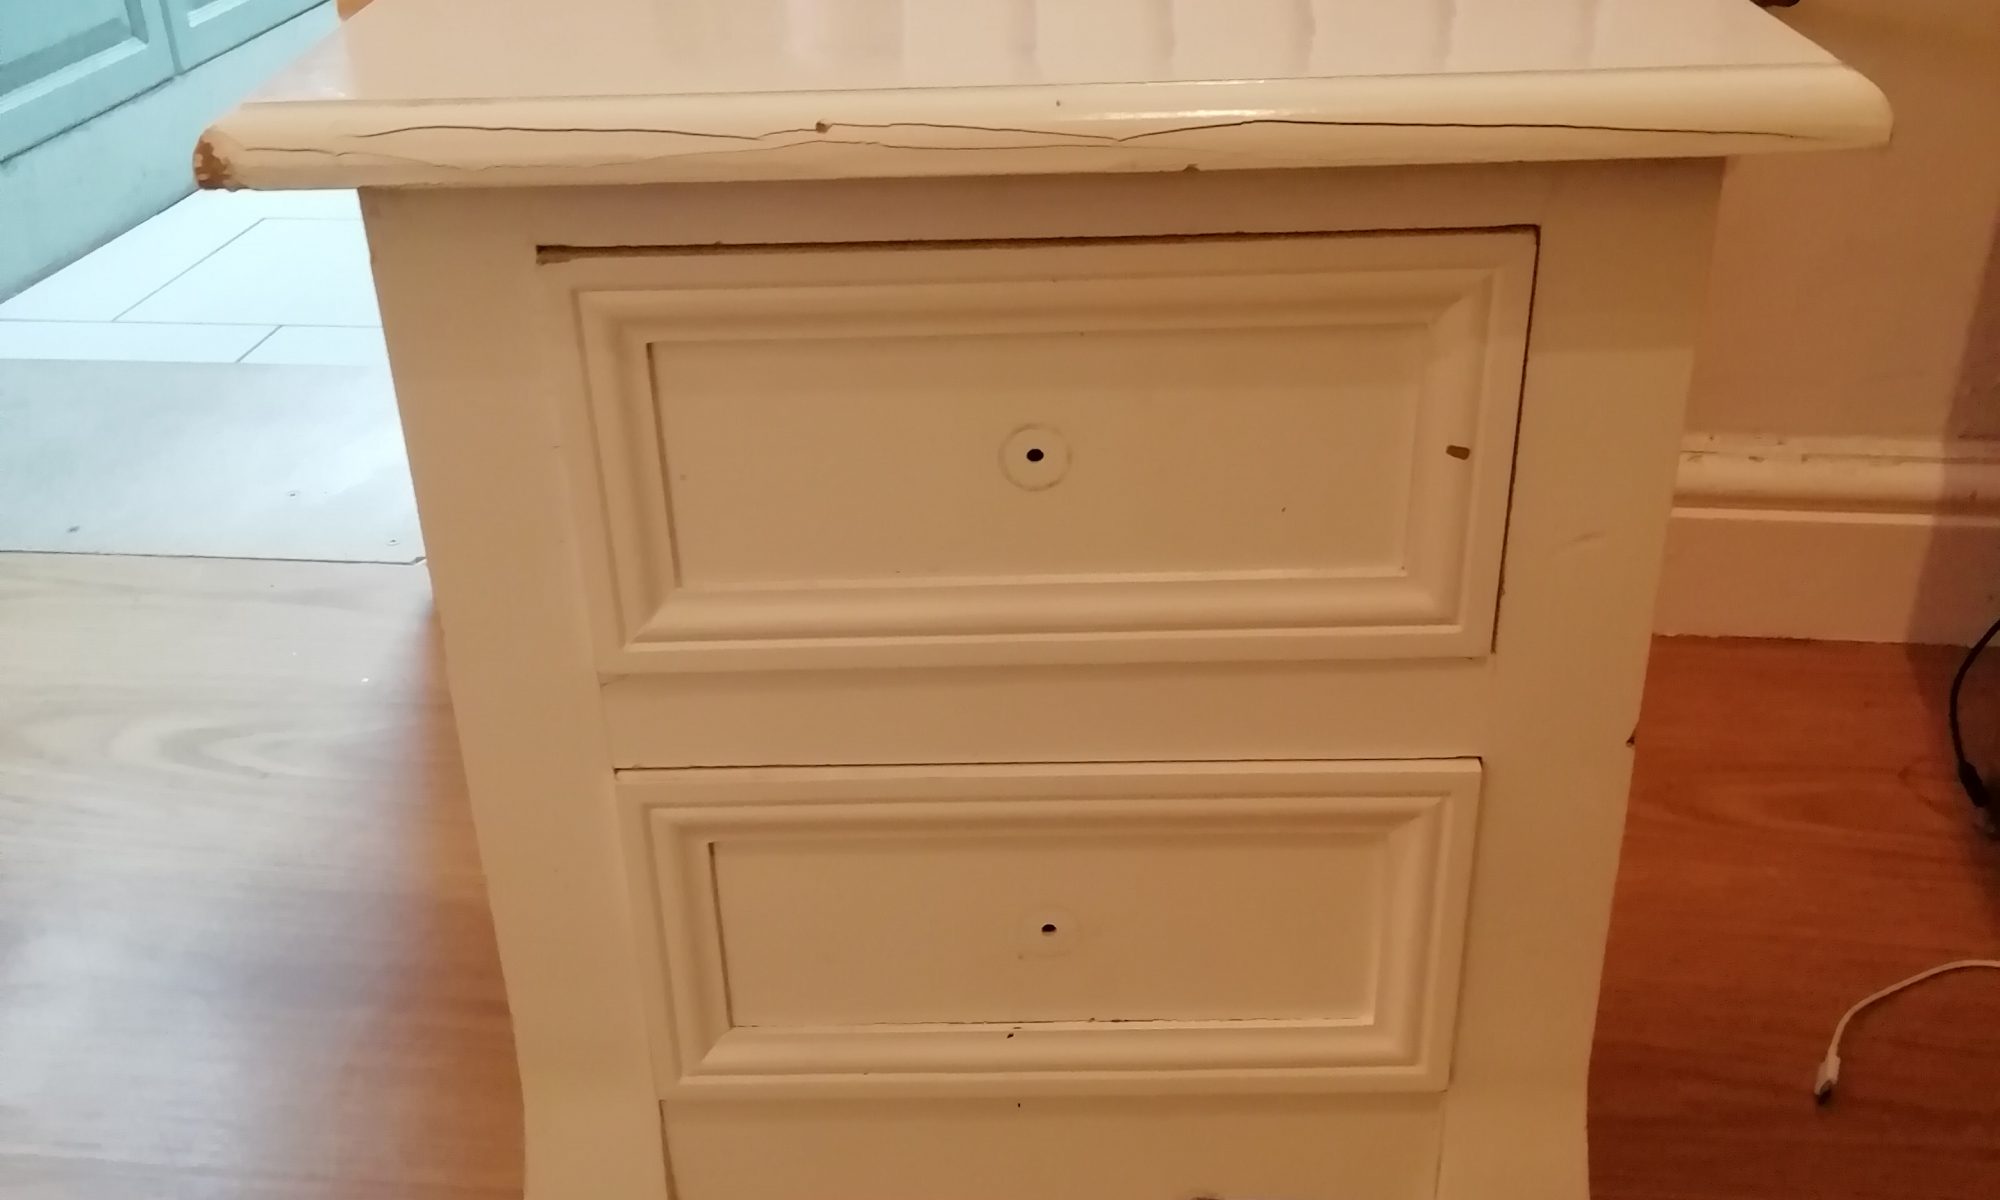
The first step was to fix the side panels. This was fairly straightforward as the indent was quite deep so I could just cut some 3.5mm ply to size and fit the panels over the existing sides.
The nicks and dents I was going to fill but I think I’m going to leave them as-is to let it be slightly beaten and aged.
Painting
OK so I made a stupid decision, at the moment of buying the paint I changed my mind and went for some blackboard paint. It turned out to be waaaaaaay too think and in painting it on I was losing all of the detailing on the moldings. So I removed all the paint that I had applied, let everything dry and then decided to spray the piece instead.
I had this lying around so I tried this and it looks great…. now I have to wait for more to arrive as I’d used most of it already on the Kraken Lamp and Dolls Head Lamp.
I found a broken table by the side of the road. I wasn’t planning on making a table but the base I found was cool and I obviously need more projects.
The original table top was junk but I didn’t need to do anything to the base or legs other than buy some extra bolts.
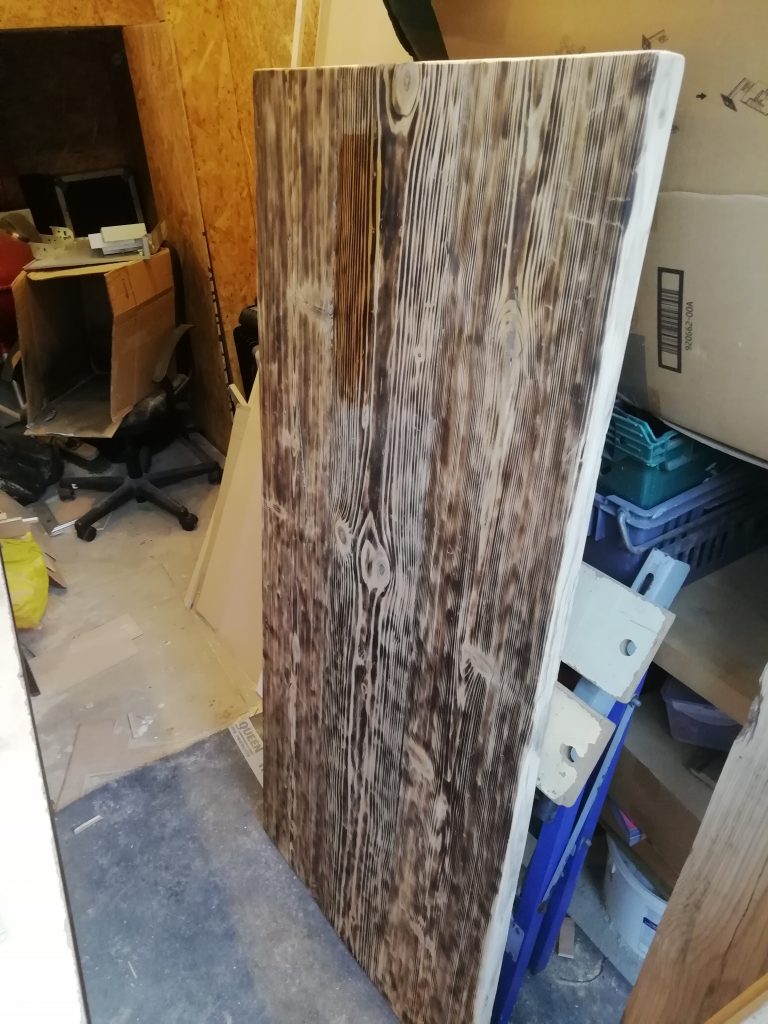
I wanted a thick heavy table top so it was off to Bristol Wood Project to have a look what reclaimed timber was available. I ended up with some scaff planks. the first thing to do was to roughly sand down the edges and then glue them into a single ‘sheet’ of wood. I’m not too bothered about having gaps and visible seams in the final piece so I’m not taking the time to square off the edges on a tablesaw or something like that.
I don’t have any clamps big enough to hold the scaff planks flat and squeeze them together so to keep them flat I built a couple of jigs out of some scrap wood.
Once the glue was on there I used a few ratchet straps to squeeze the plank together.
I added on a couple of chunks of wood and screws on the bottom for extra strength. This could probably have been skipped as the wood glue on its own should be strong enough but I have a tendency to over engineer everything so why stop now.
Once I have a stable sheet of wood its time for sanding. LOTS of sandingI started at 60 grit and went down step by step to 240 grit.
Next step was the burning!
I wasn’t trying to seal the wood, just to pick out the grain.
My assistant really enjoyed the burning.
Next step was the wood stain. I used a light oak stain with 3 coats top and bottom.
Then it was 3 coats of polyurethane top and bottom to protect the wood. I think that I need to practice this before using it again as the finish wasn’t quite as expected and I think the coats I applied were too thick.